Monumental Labs Unveils End-to-End Autonomous Marble Carving System
Monumental Labs has built the first end-to-end autonomous CNC stone carving system on KUKA KR240 robots, turning a 3D model and a marble block into a finished sculpture with no human in the loop. The team presented the work at Embodied AI NYC, combining machine learning, computational geometry and robot control for a concrete embodied-AI deployment in traditional craft.
Full Report
Contents16 sections
We taught KUKA KR240 robots how to carve marble sculptures.
This month, my team and I at Monumental Labs announced the first end-to-end autonomous CNC stone carving system of its kind. Sebastian Marino, James Darby, and I presented it at Embodied AI NYC, hosted by NY Robotics and ZeroSpace Labs in Brooklyn. This post is a written version of our talk: how our system turns a 3D model and a block of marble into a finished sculpture, with no human in the loop.
Sim-to-real: the planned toolpaths in simulation alongside the robot carving them in stone.
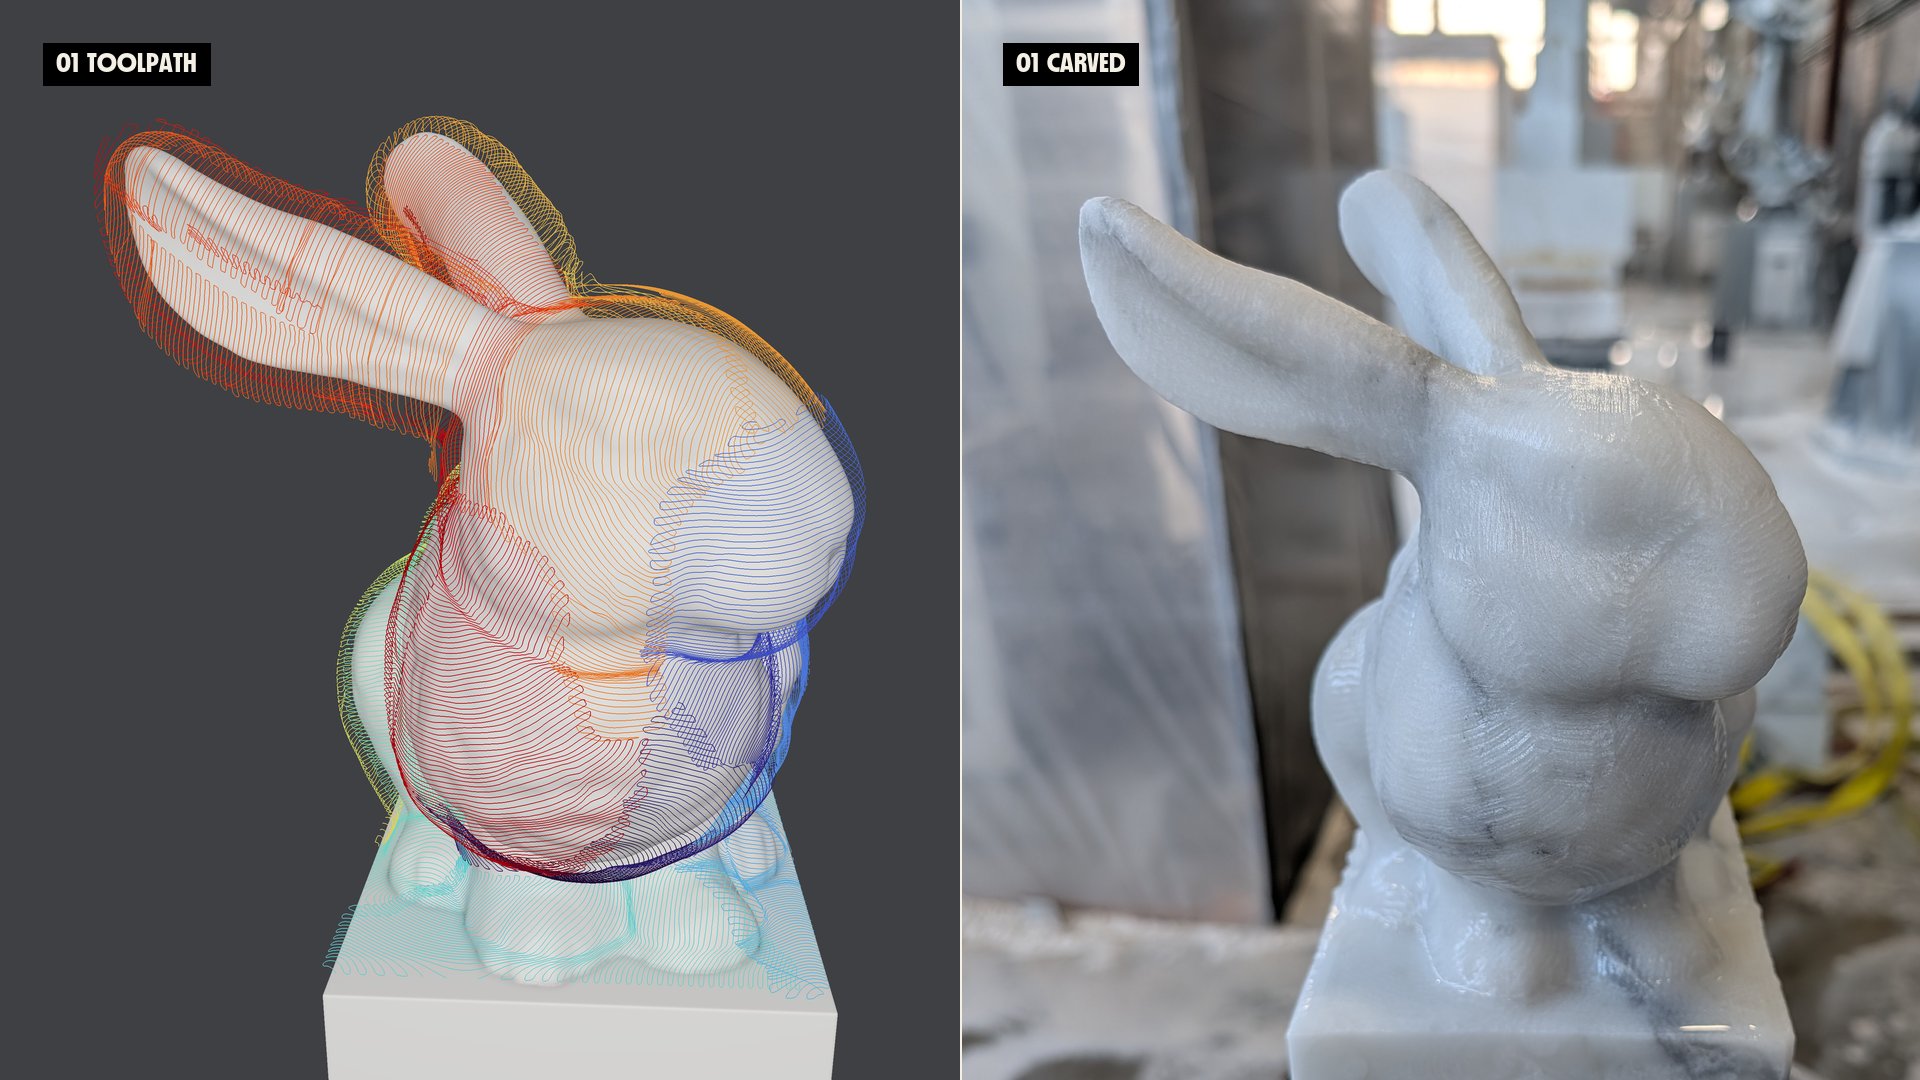
From simulation to stone: a finishing toolpath on the Stanford bunny (left) and the marble bunny the robot carved from it (right).
Why stone, and why now
Civic buildings like Penn Station and Grand Central were once expected to be monumental. Stone carving never disappeared, but rising costs pushed it out of ordinary construction. At Monumental Labs we use machine learning, computational geometry, and optimization to cut that cost: de-extinction, not displacement.
Our goal is zero humans in the loop during the manufacturing process: a fully automated, end-to-end pipeline built for “lights-out” manufacturing. Aside from working towards lights-out factories, our mission is to continue to work with artists and designers to decide on the final desired sculpture, and hand carvers to finalize the surface quality of many of our pieces.
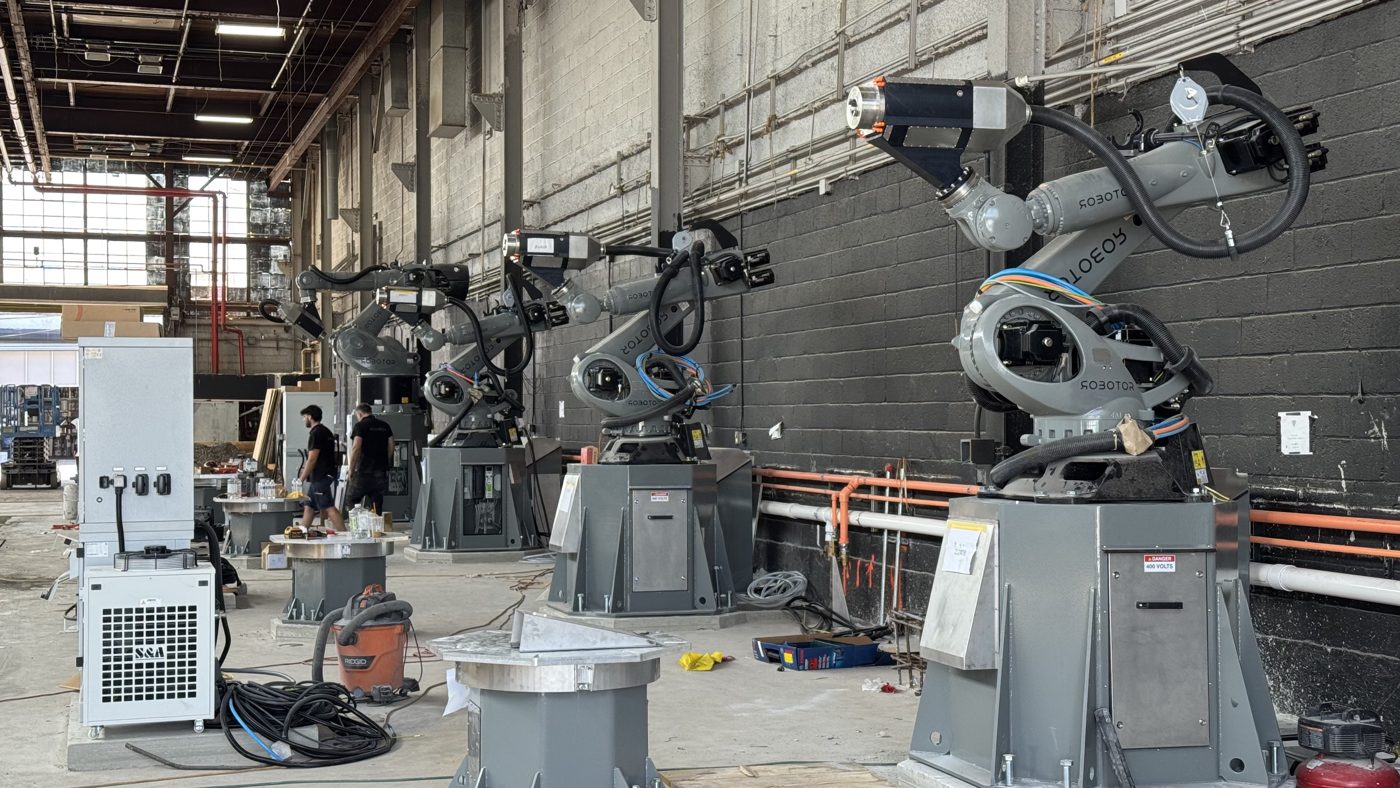
Monumental Labs HQ in Greenpoint, Brooklyn.
Roughing vs. finishing
Carving happens in two broad phases. Roughing is about material removal rate: getting as much stone off the block as quickly and safely as possible. Finishing is about surface quality: tracing the final form closely enough that what comes off the robot matches the design. The two phases call for different tools, different strategies, and different algorithms.
A magic trick: autonomous roughing paths
The running example in the talk was a magic trick: start with a block, carve a top hat, and pull a rabbit out of it. The rabbit is the Stanford bunny, a classic test model in computer graphics. We carved the top hat first partly for fun, and partly as a reminder of the magic that happens when robots and art come together.
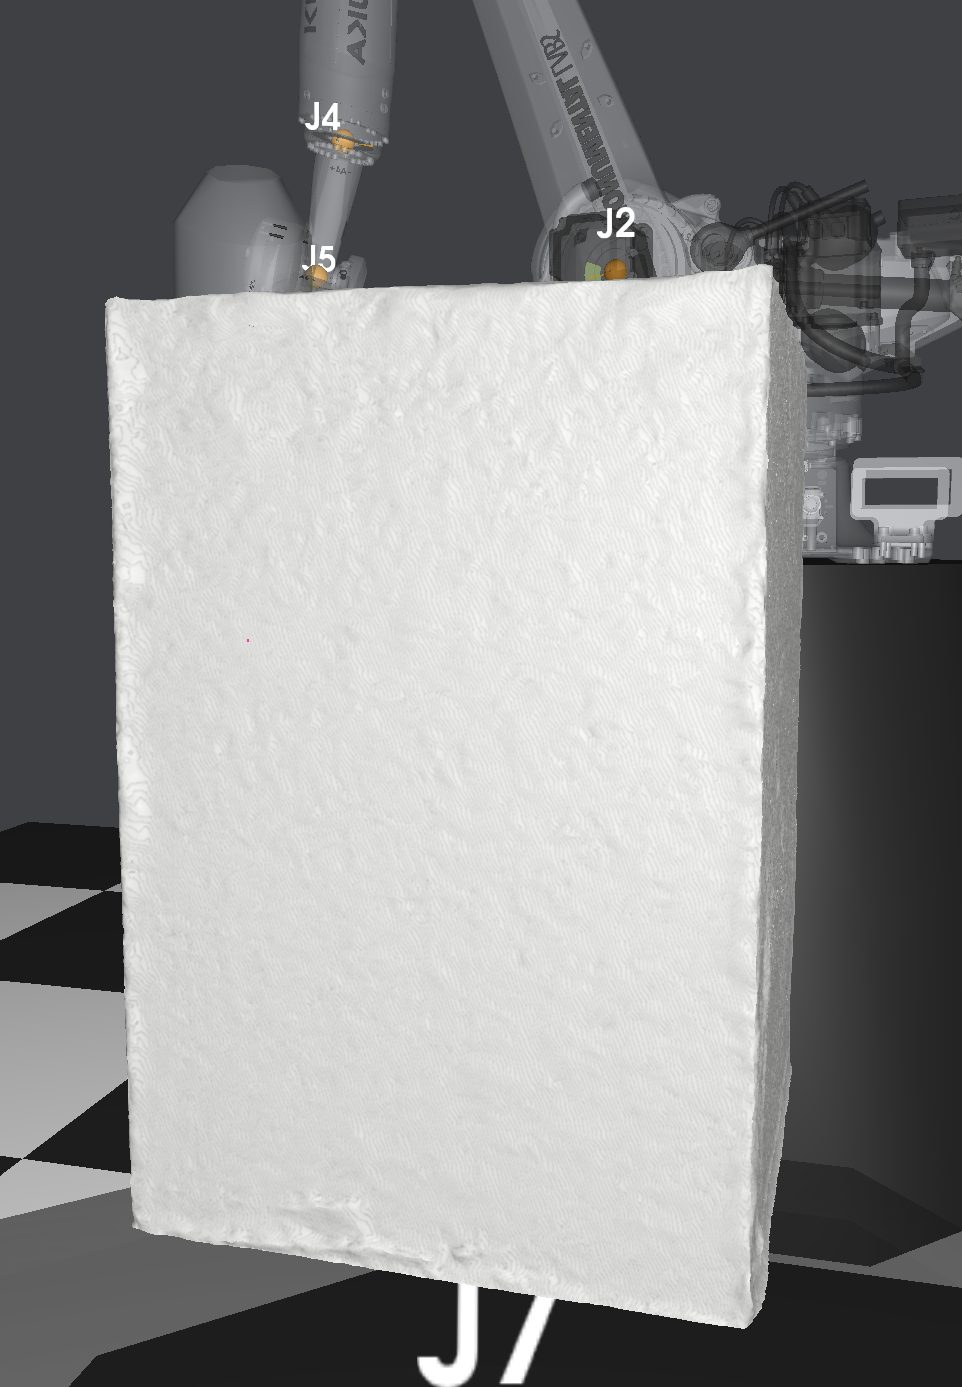
Block →
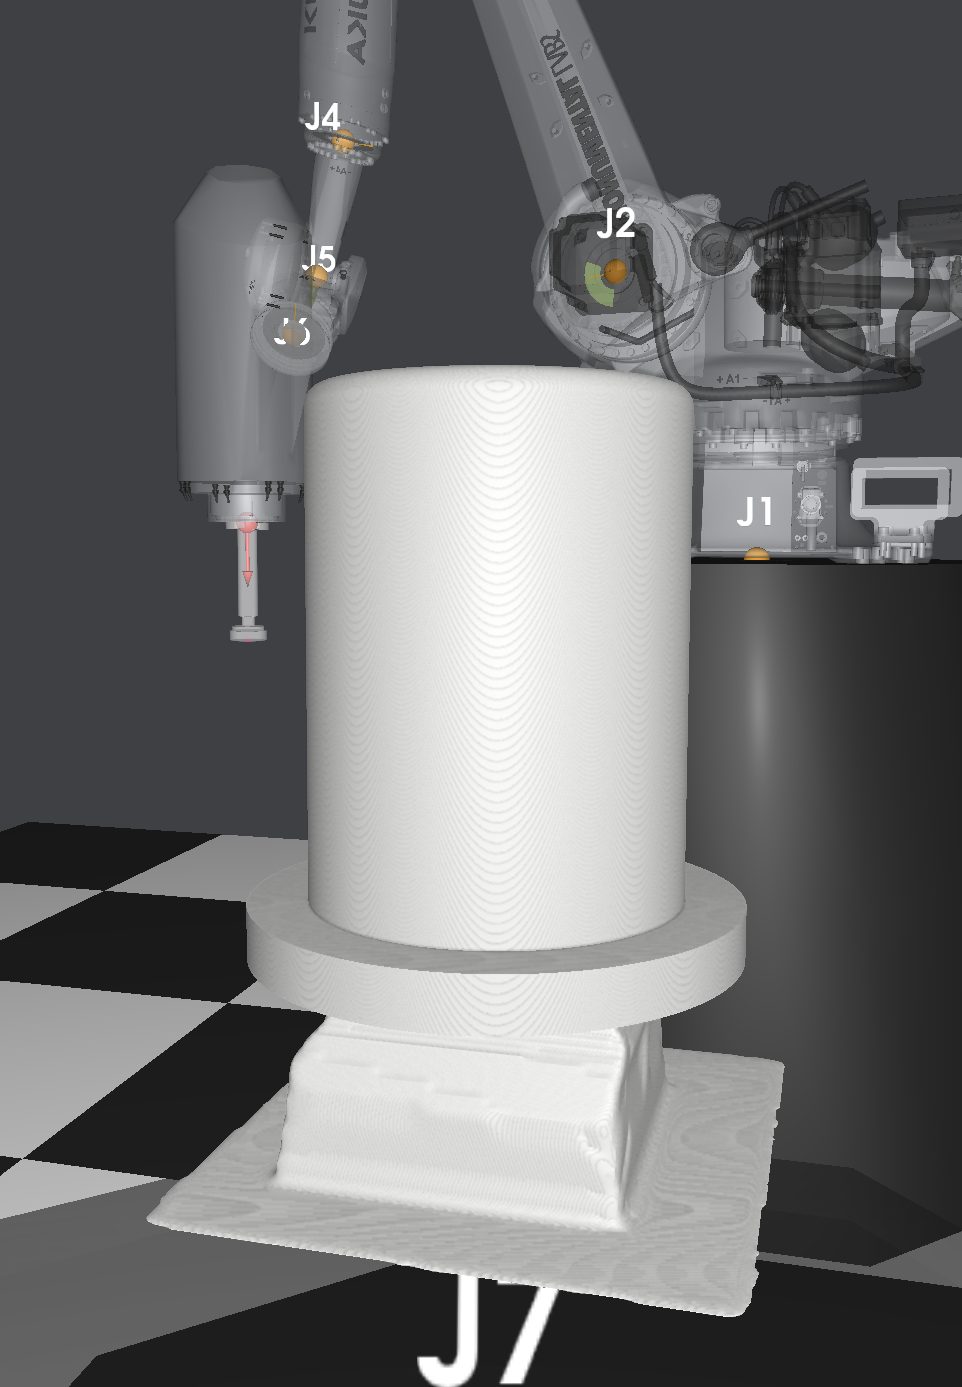
Top hat →
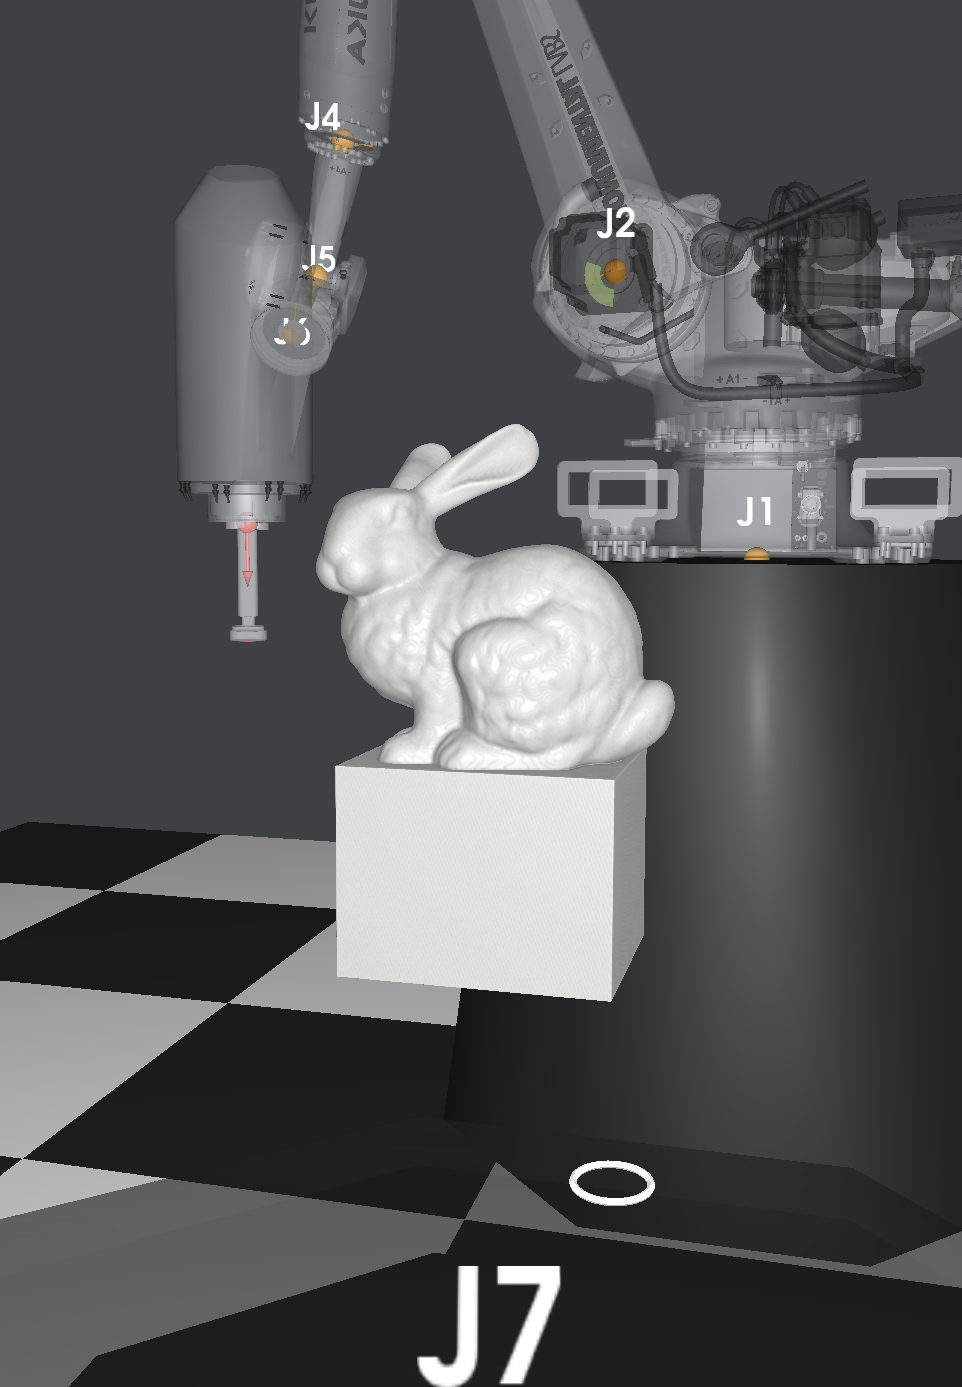
Rabbit The trick in simulation: block, top hat, rabbit.
Voxels
Everything starts with a voxel representation of the stone. Voxels let us accept arbitrary mesh inputs and store them in a sparse data structure, which matters because a dense grid scales cubically with resolution. From the voxels we compute a signed distance field, along with normals and gradients. That gives us a natural basis for constructive solid geometry, which is exactly what subtractive manufacturing is: the stone minus everything the tool has removed.
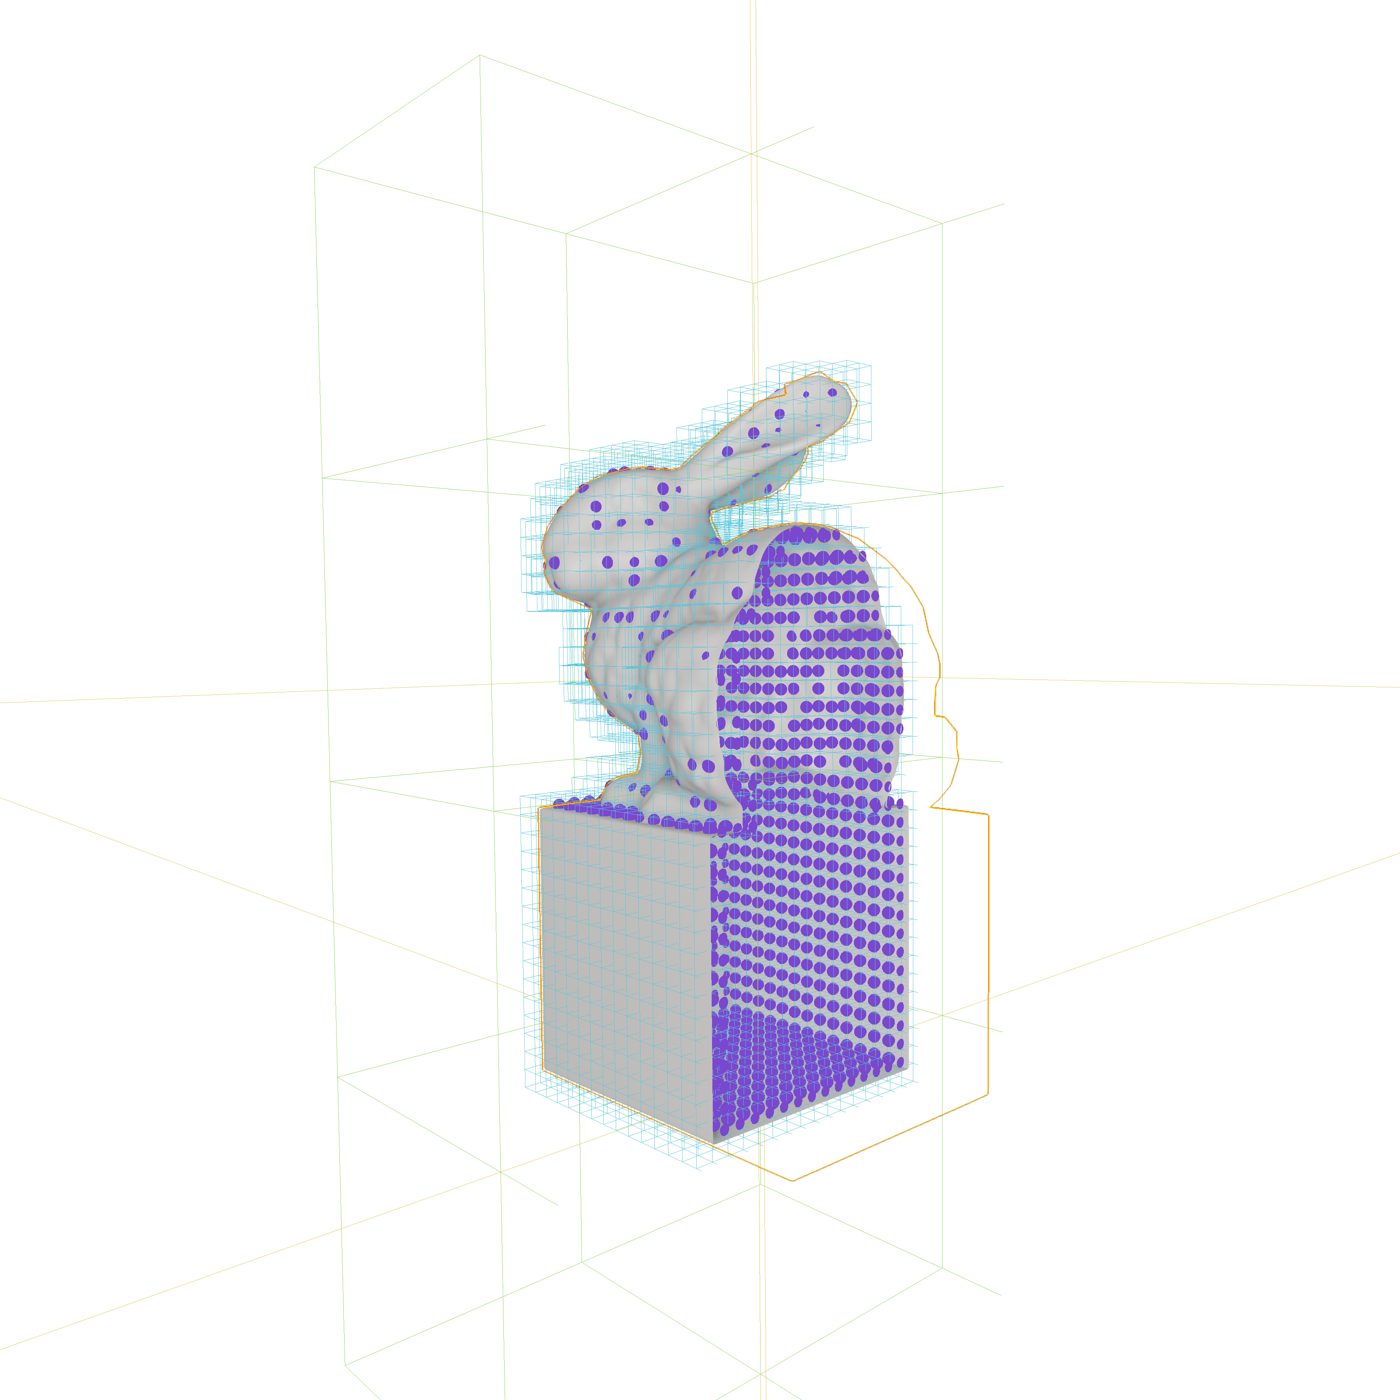
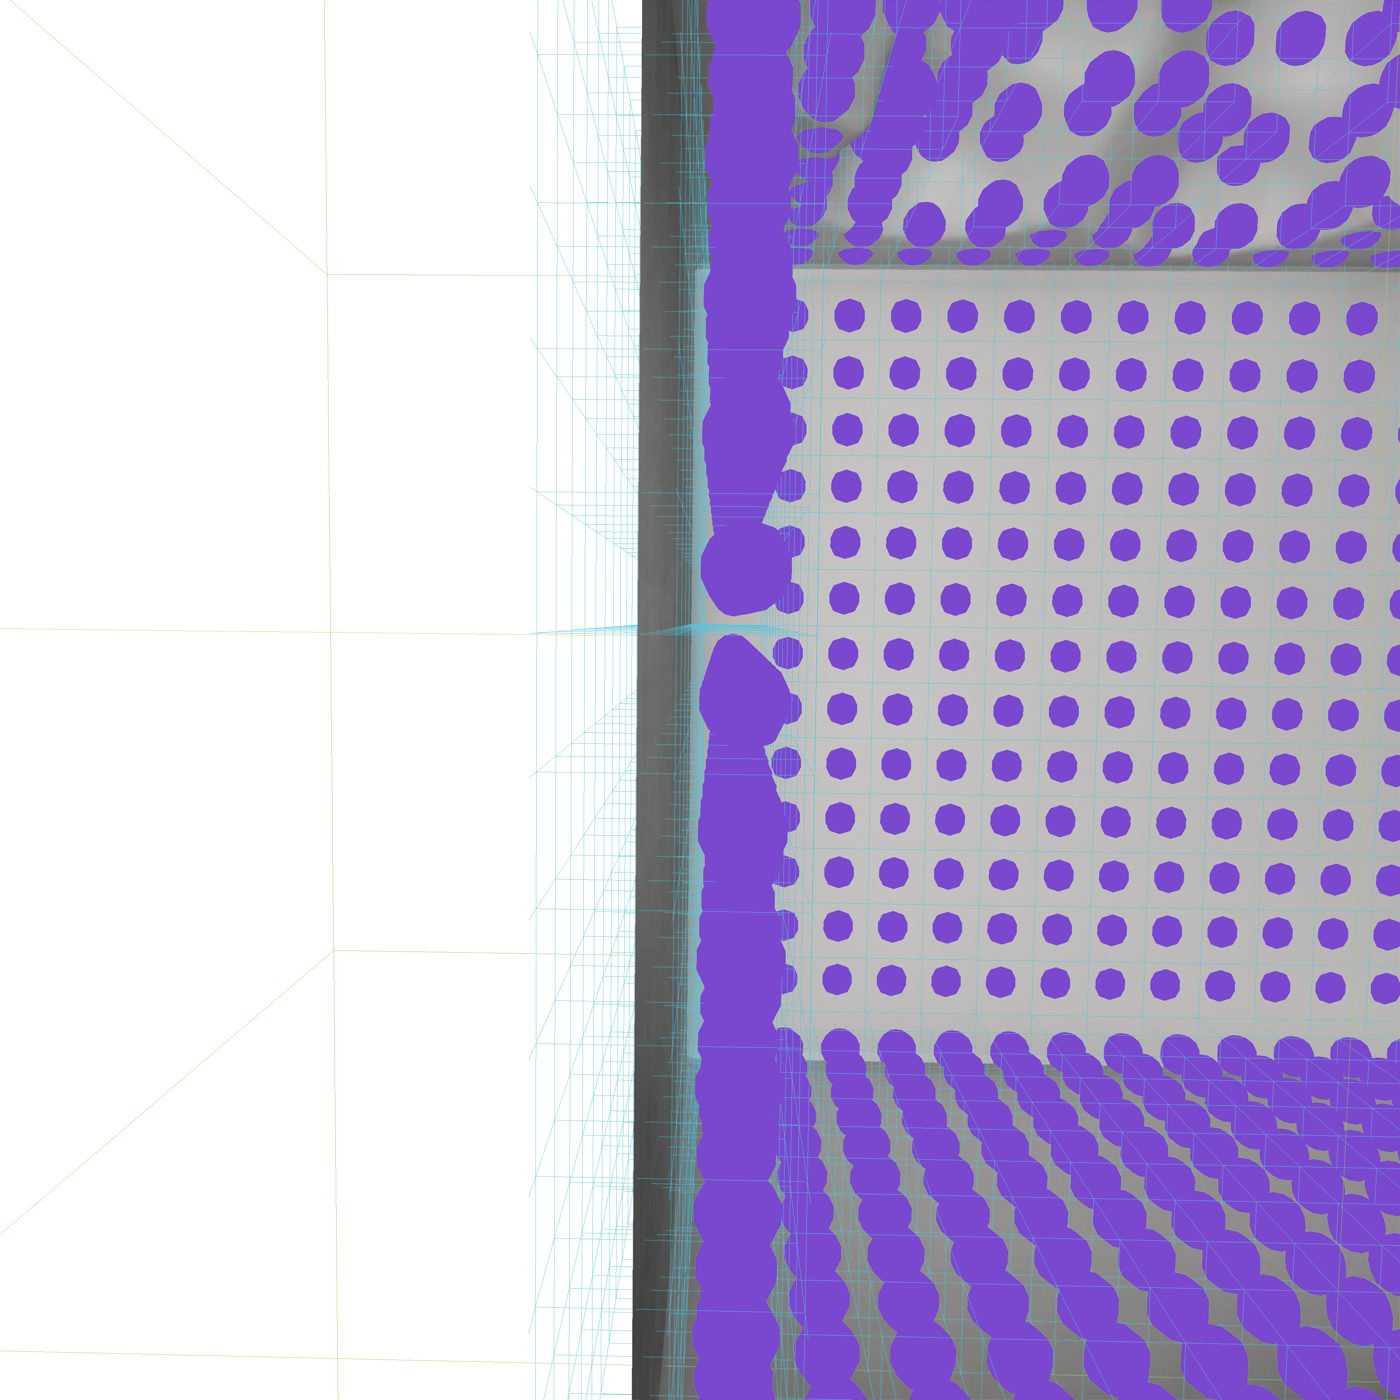
The stock and target as a sparse voxel grid, and a close-up of the grid at the surface.
Bulk material removal
The first job is primary bulk material removal: clearing the large volume of stone between the raw block and the rough shape of the part.
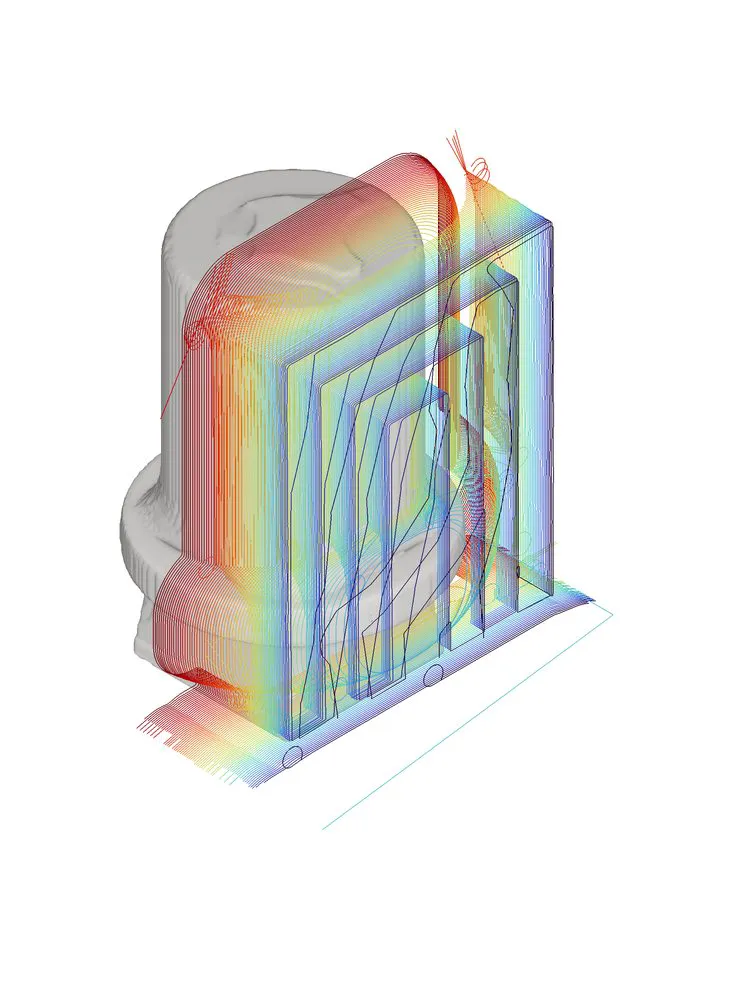
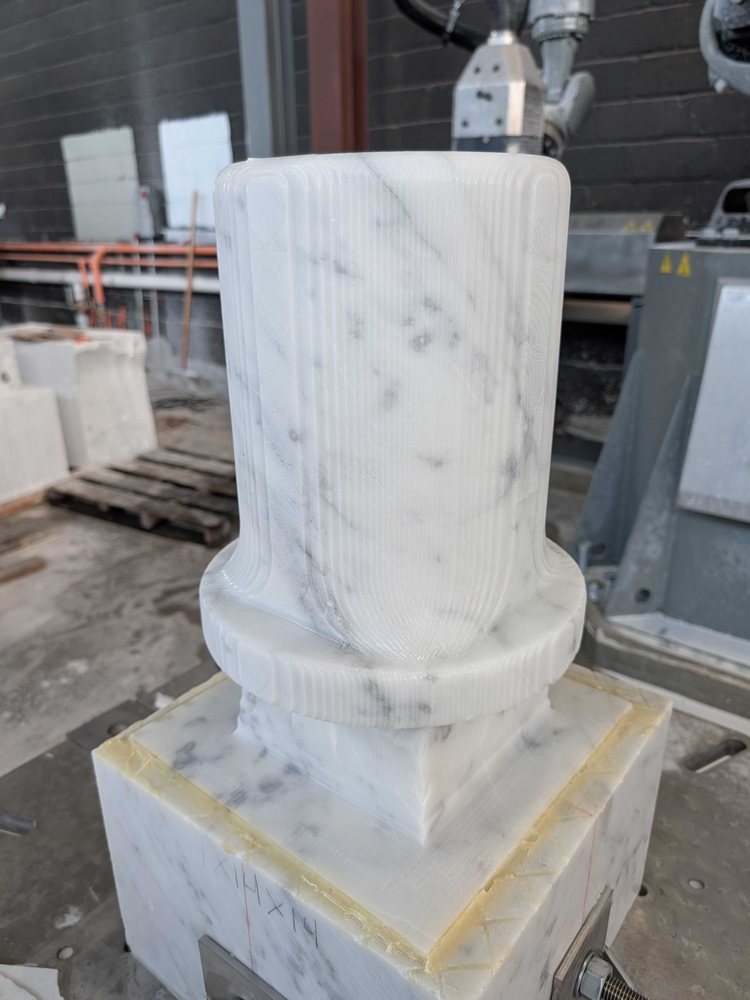
Bulk roughing passes for the top hat, and the result in marble.
What is a toolpath?
A toolpath is the route the cutting tool follows through the material, eventually written out as G-code that the machine executes point by point. A roughing toolpath has its own anatomy: isoplanar passes that step down through the stone one level at a time, with each pass planned around how much of the tool is engaged in the material.
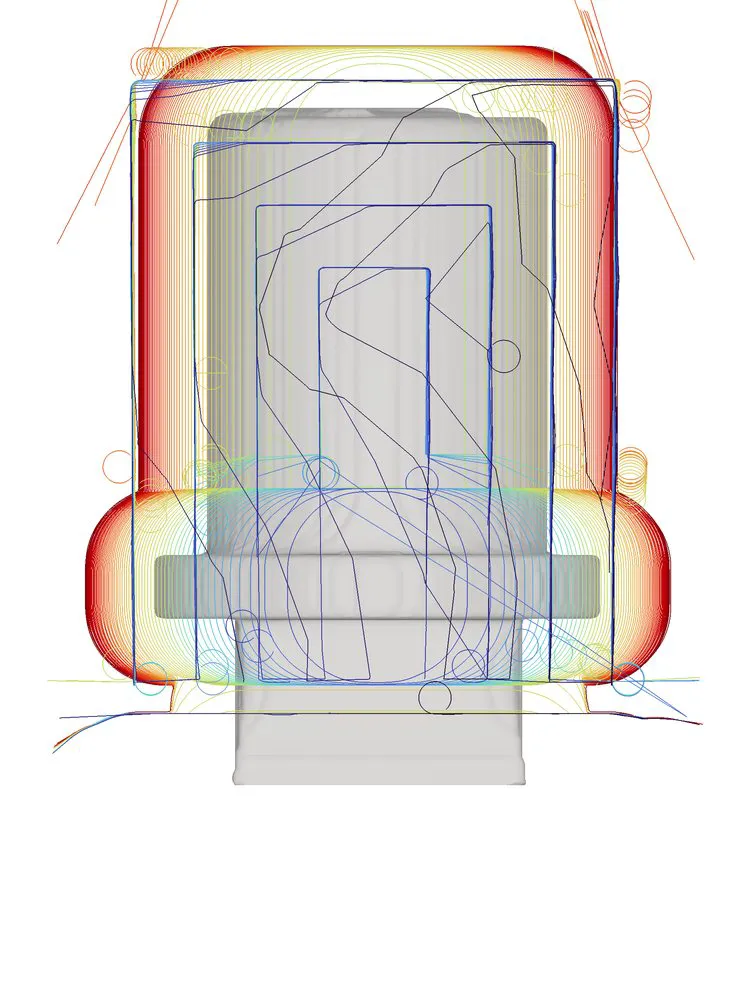
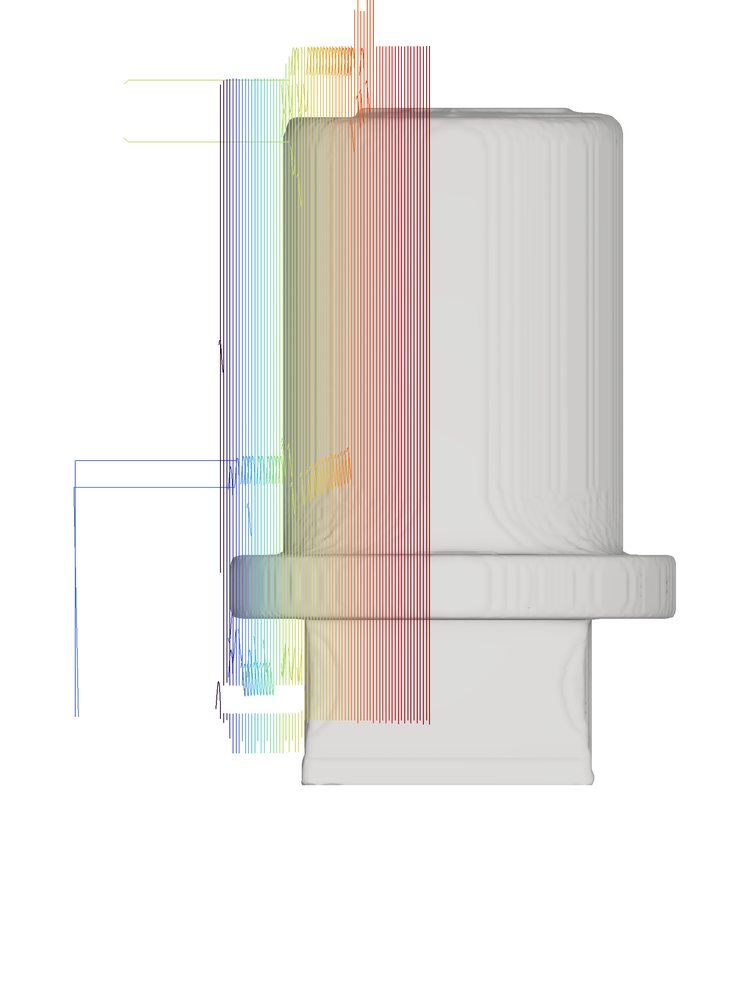
A roughing toolpath around the top hat, from the front and side.
Then the trick continues, and the same machinery starts working the bunny out of the hat.
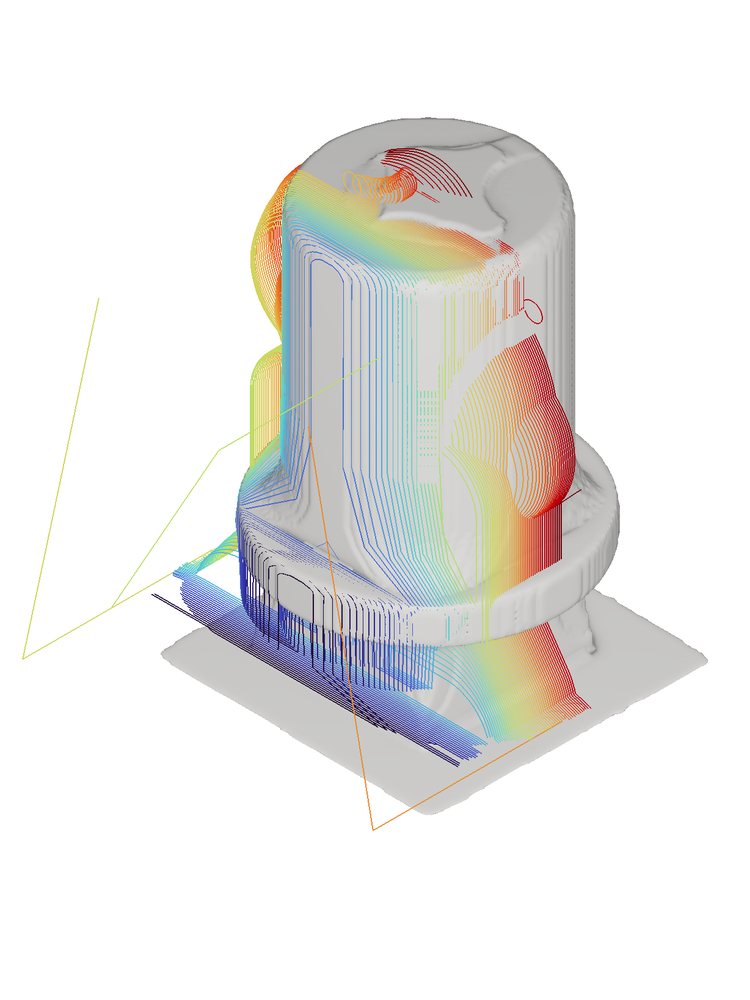
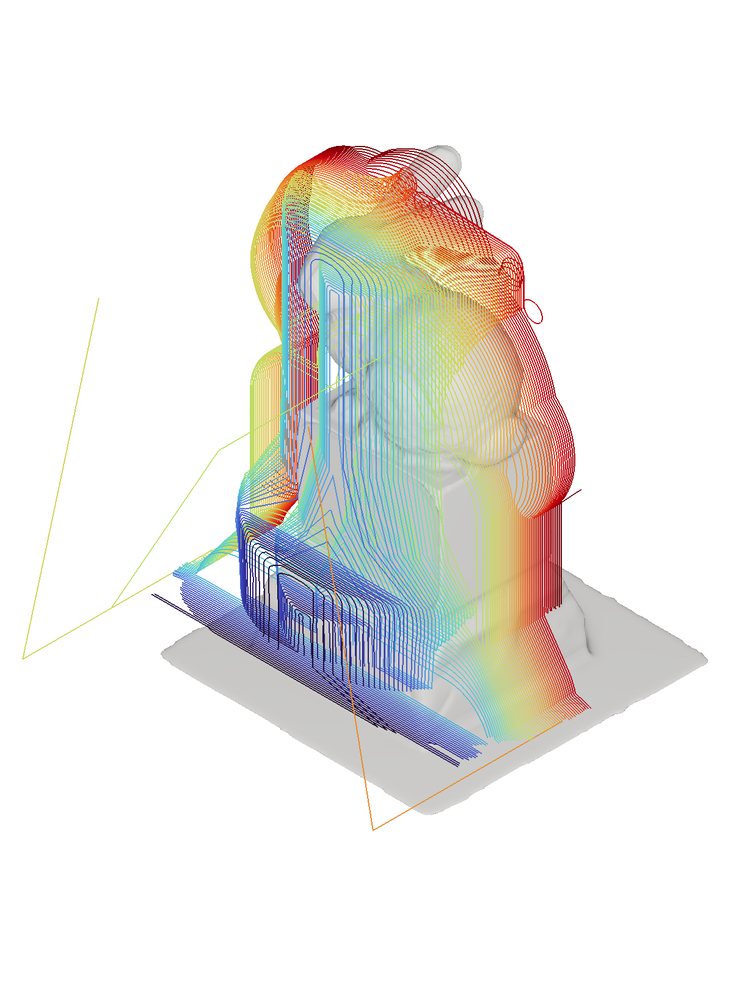
Fine roughing and off-axis roughing
As we get closer to the final surface, we switch to smaller tools and finer passes. Some geometry can’t be reached by cutting straight down, so off-axis roughing cuts along tilted planes to clear material under ears, chins, and other overhangs.
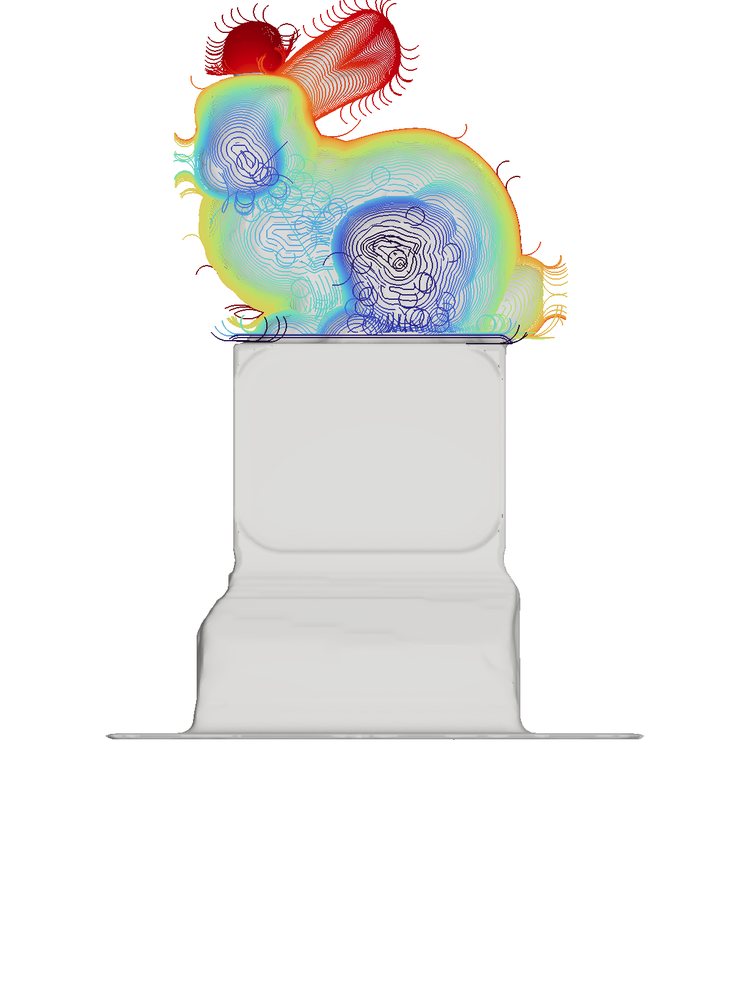
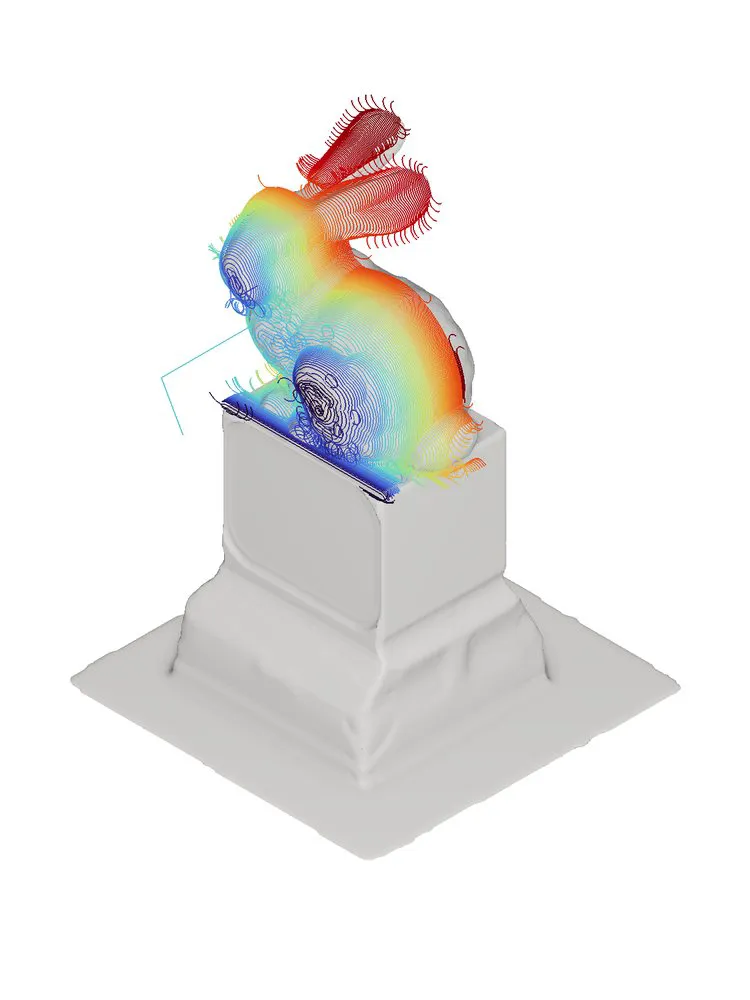
Fine roughing: closer to the surface, with smaller tools.
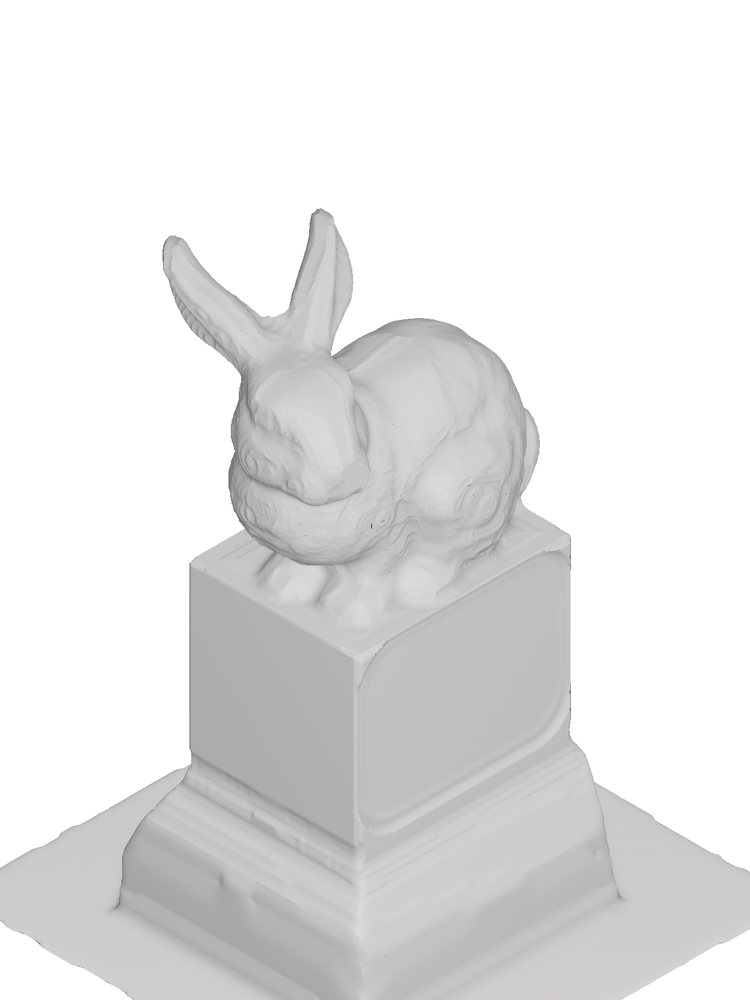
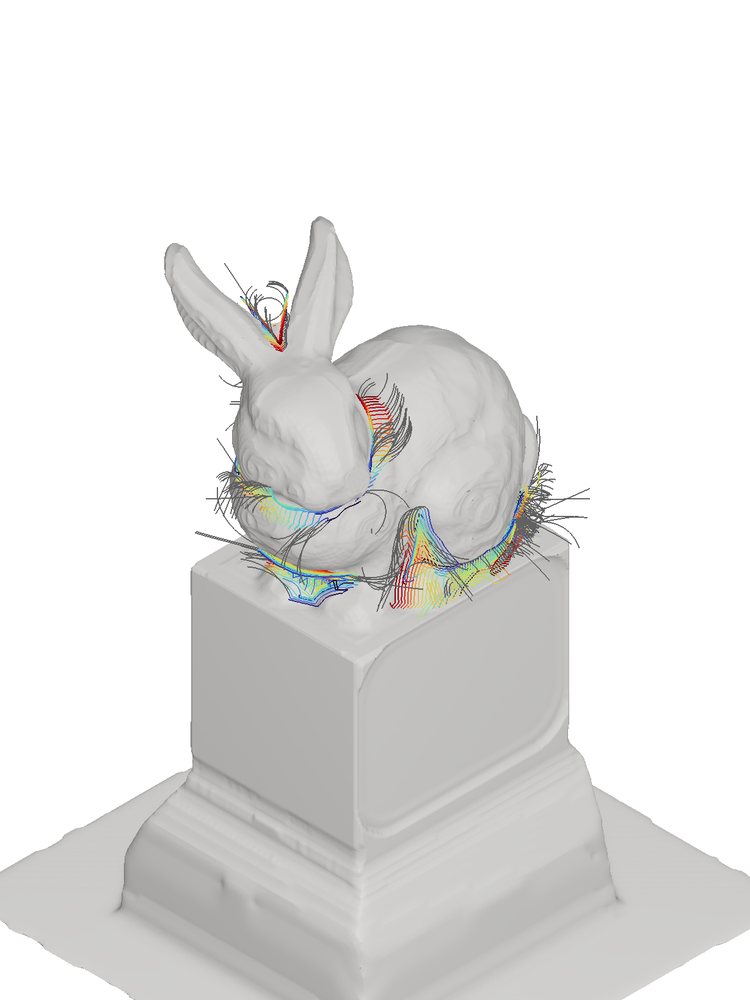
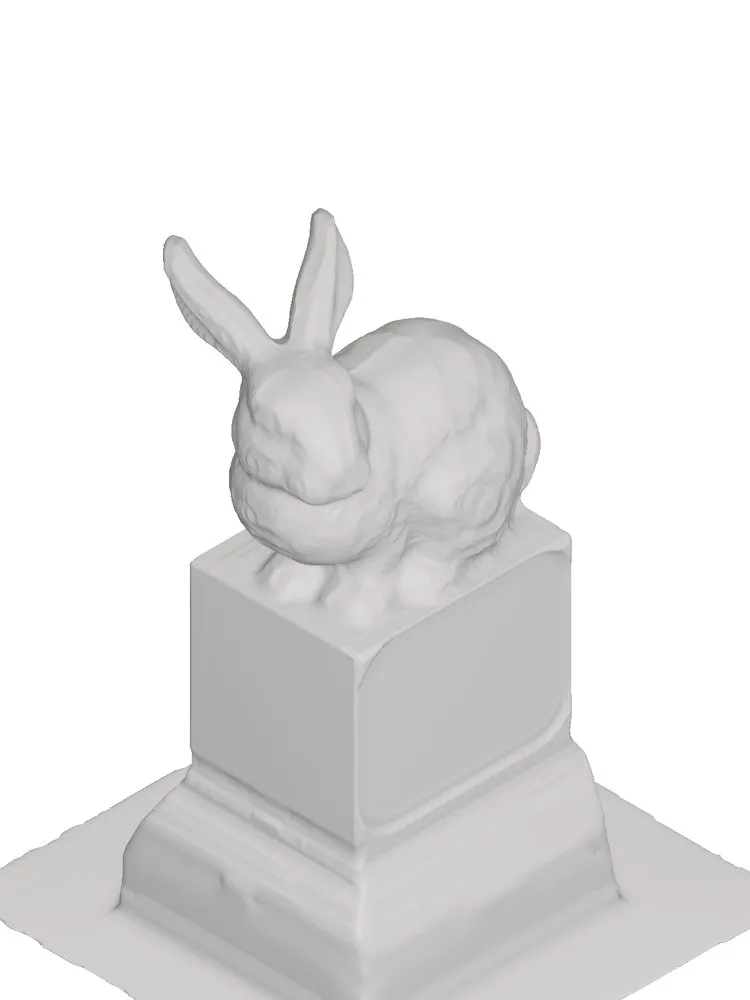
Off-axis roughing along tilted planes.
At the end of roughing, the trick is complete in real stone: block, top hat, rabbit.
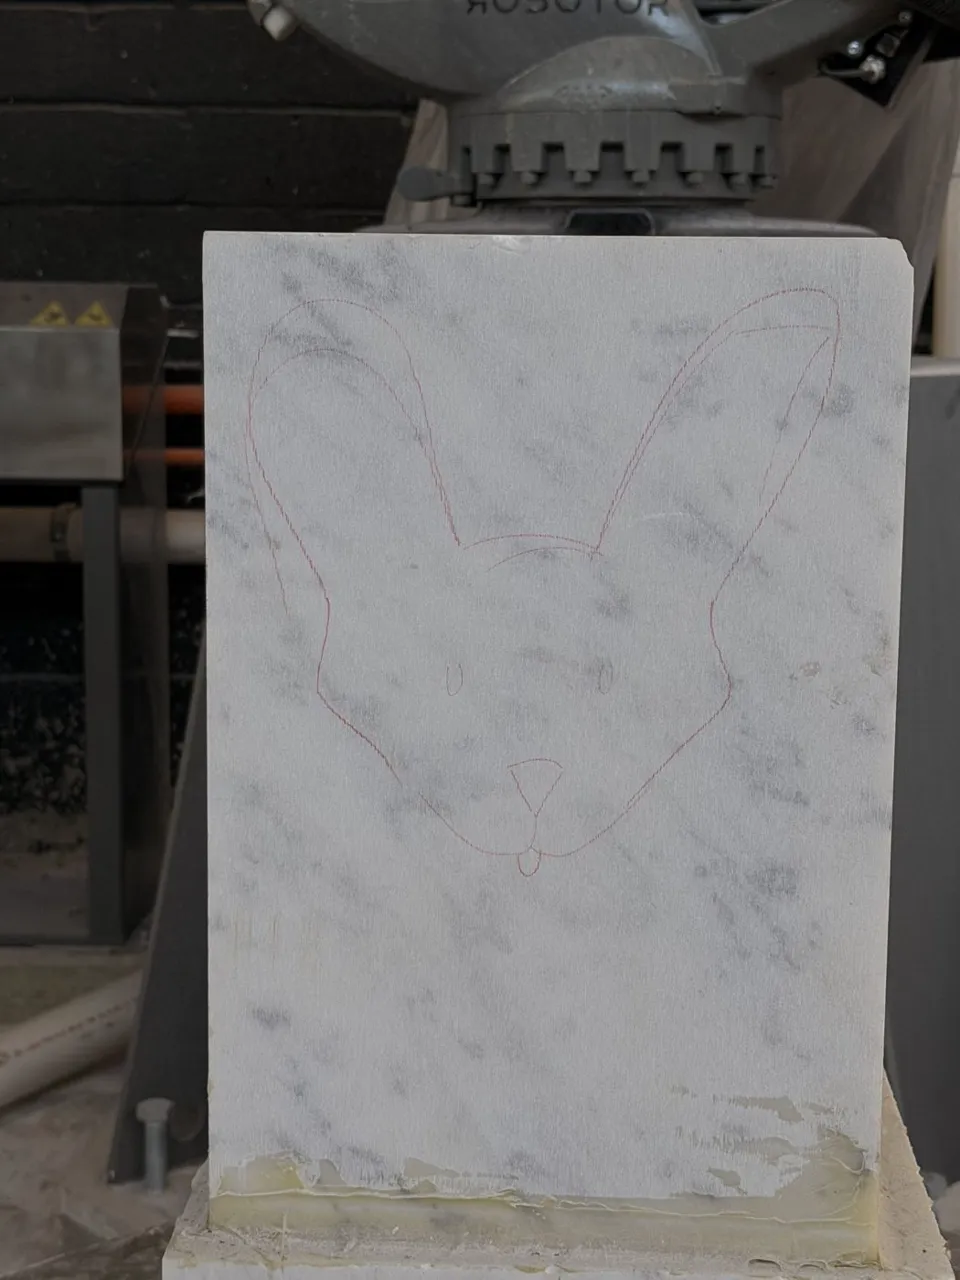
Block →
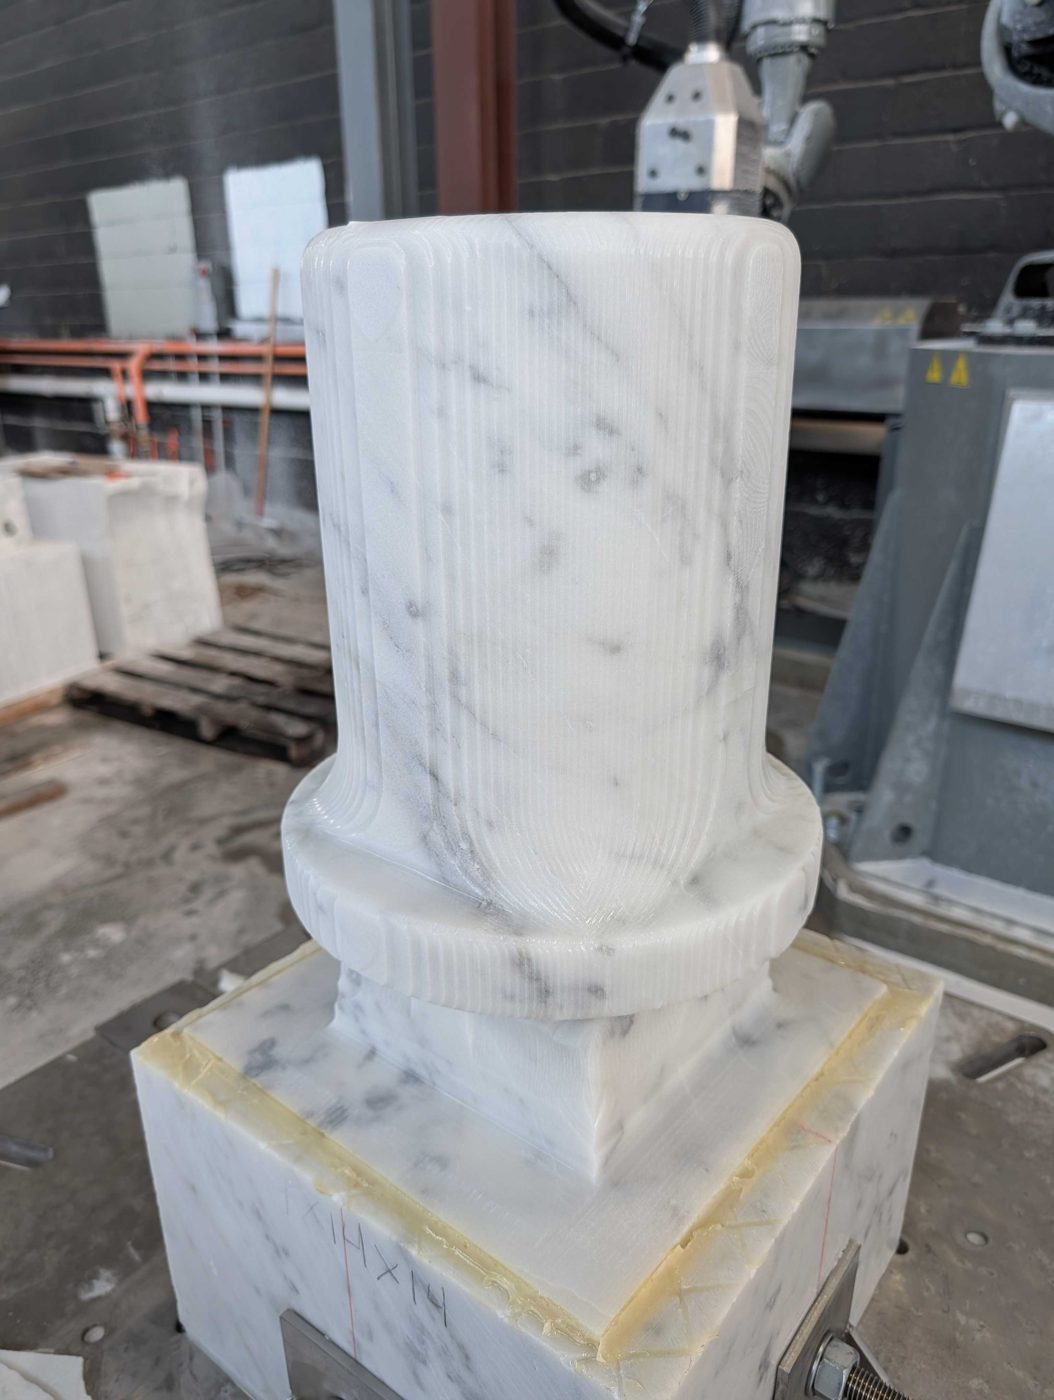
Top hat →
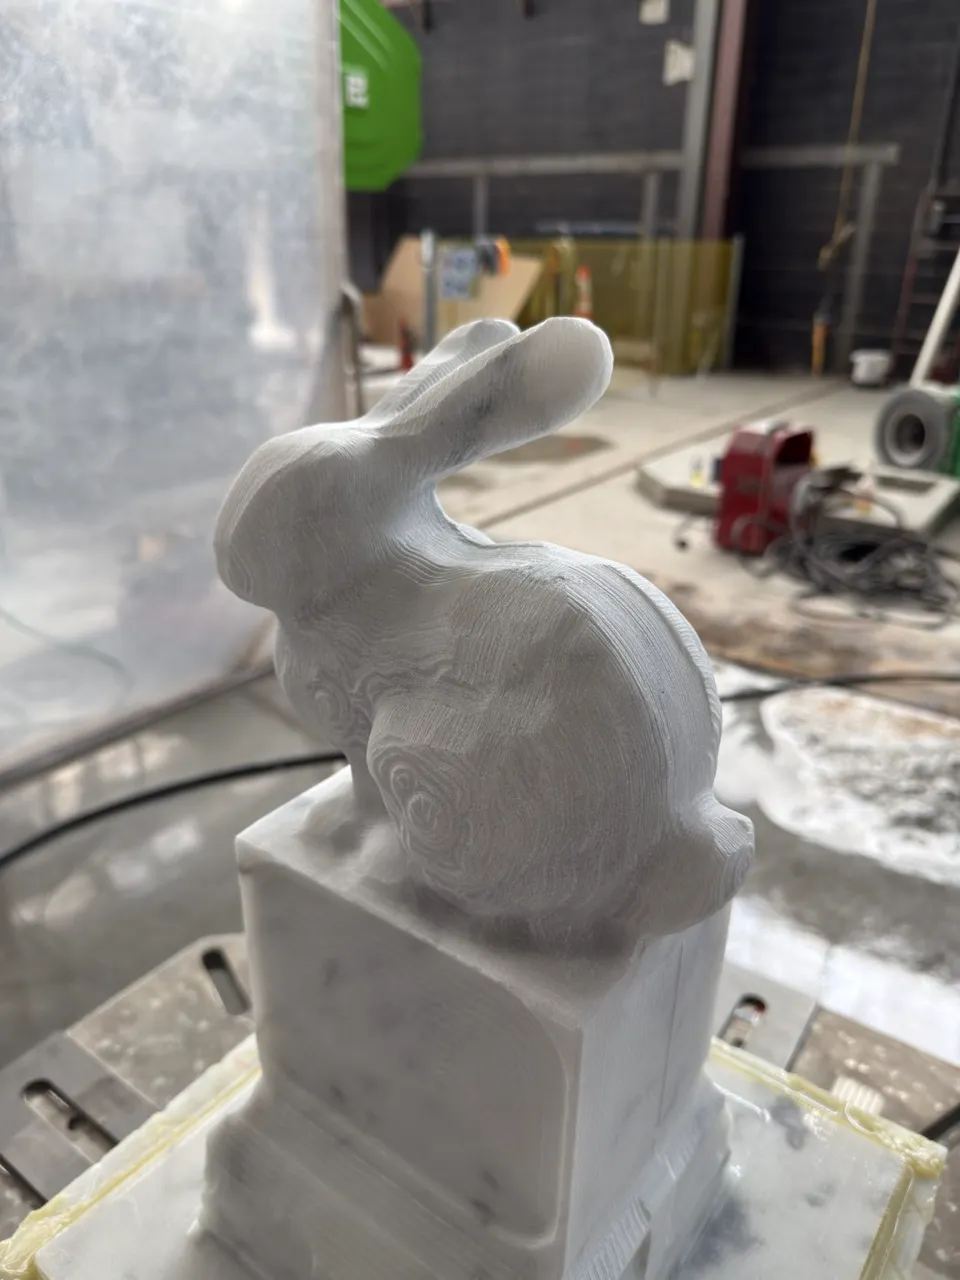
Rabbit The trick in marble: roughing, complete.
How can a robot finish a sculpture with no human in the loop?
Finishing is where the problem gets hard. The system takes two inputs: the simulated output of roughing, and the target design model. Its job is to close the gap between them.
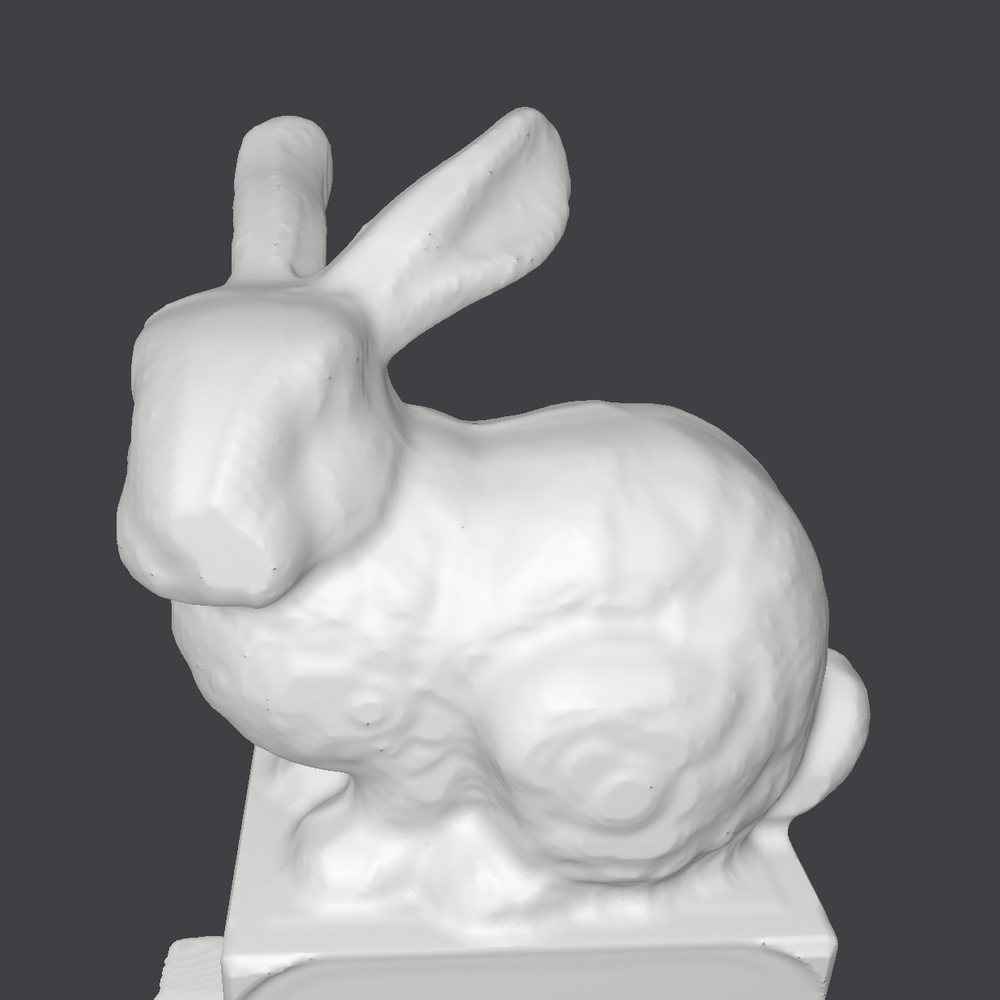
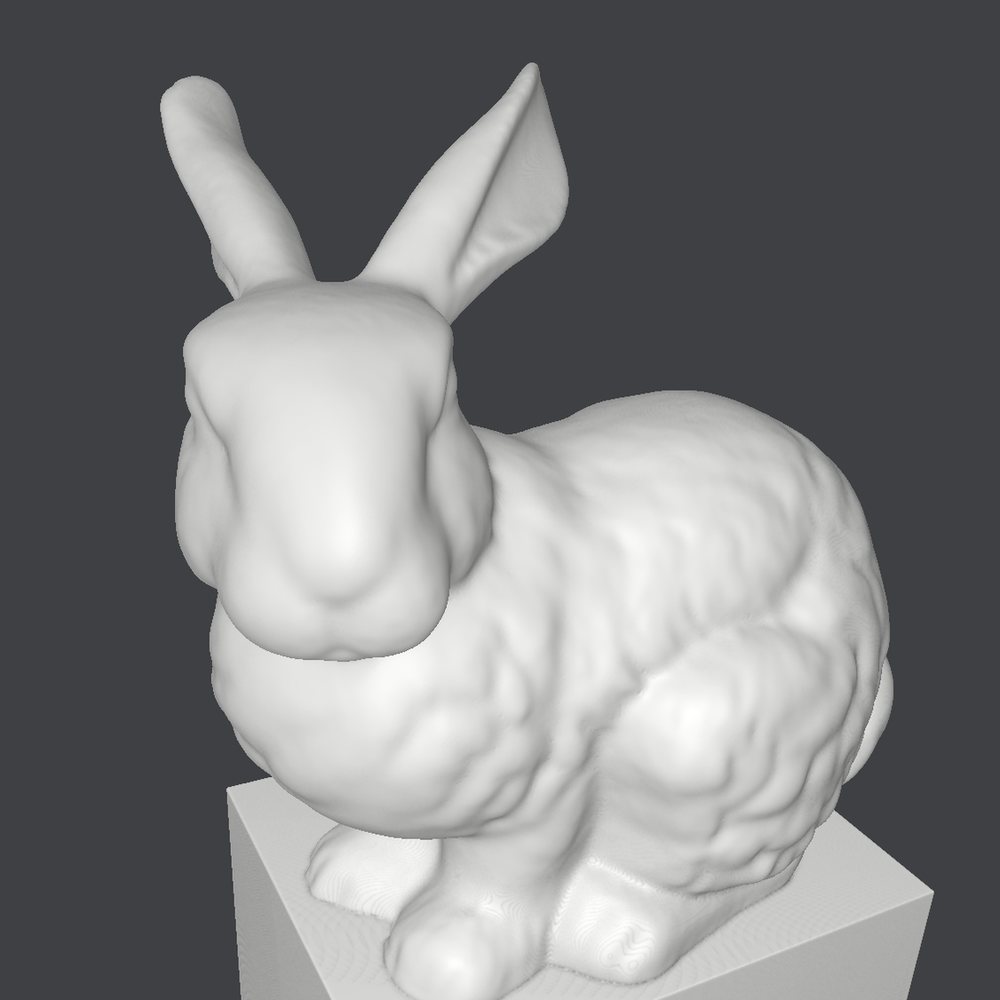
Finishing inputs: the simulated roughing output (left) and the target design model (right).
Layering
We use voxel grid dilation and mesh intersection cuts to solve for optimal finishing layers, taking the remaining stone down in a sequence of offset surfaces until the last layer is the design itself.
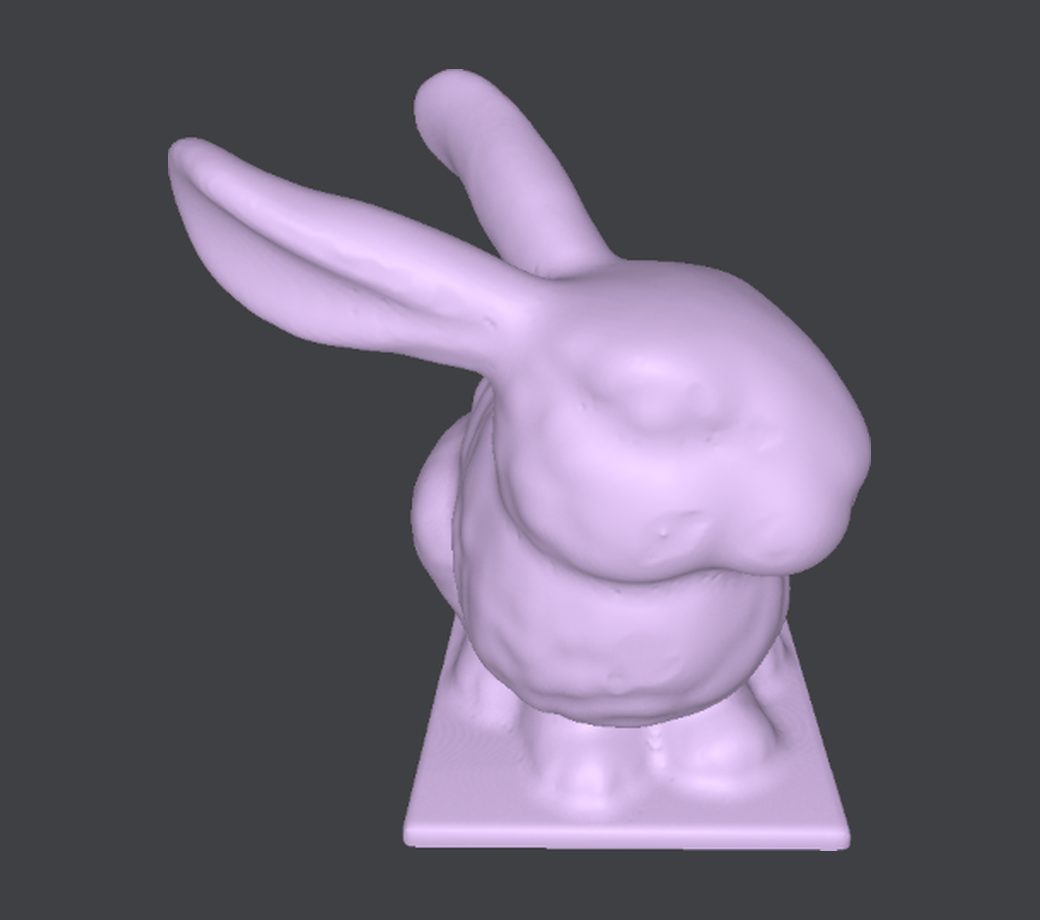
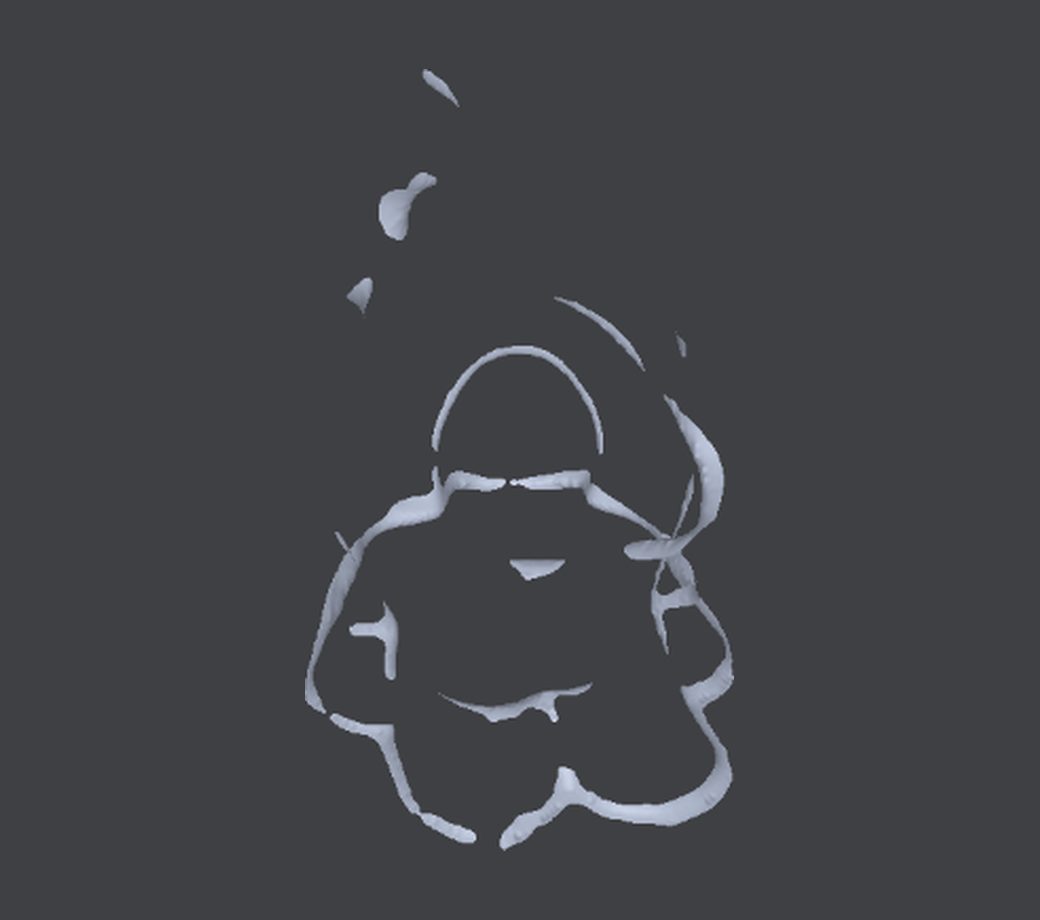
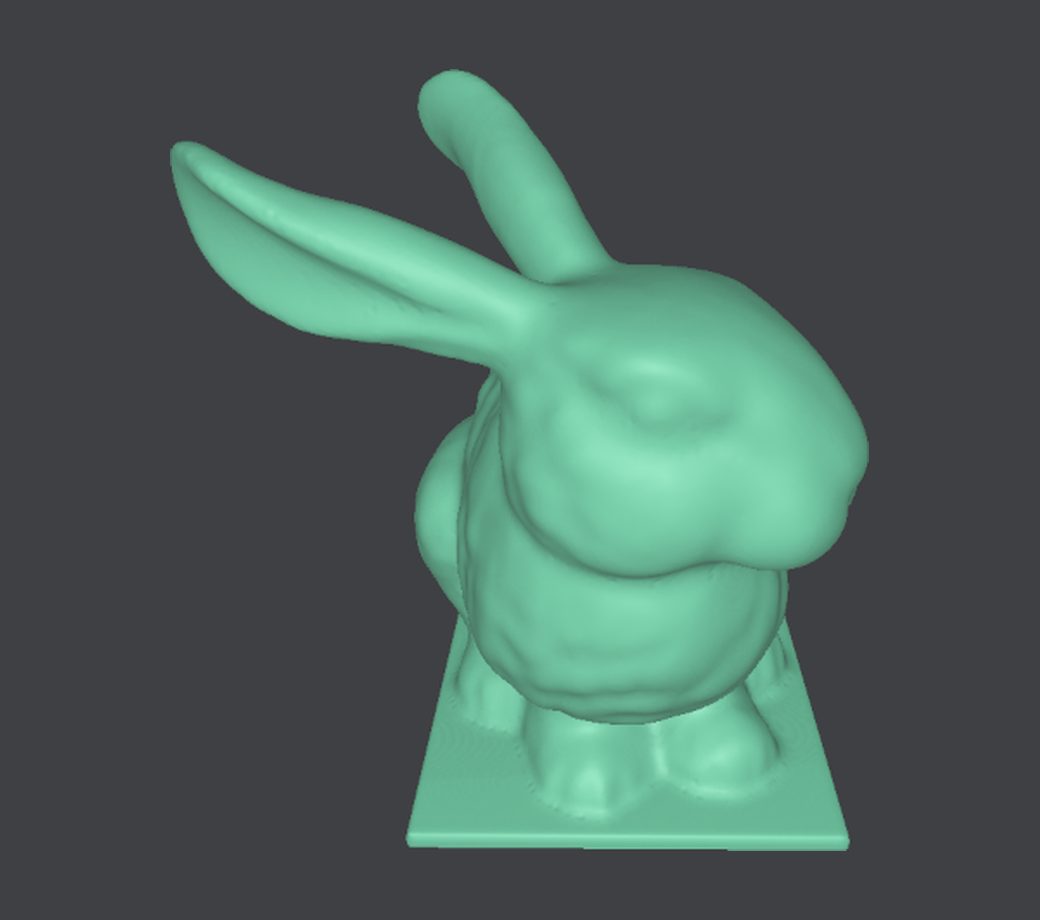
Layer 1, layer 2, and the final layer.
Automated point-cloud segmentation
Each layer is then automatically segmented into regions that can be machined together, so every region gets its own toolpath and its own tool orientation.
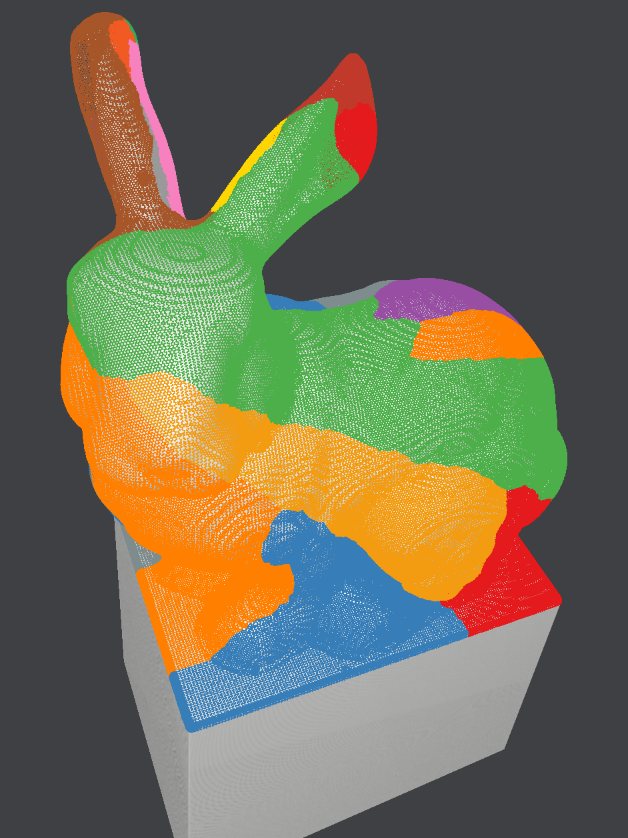
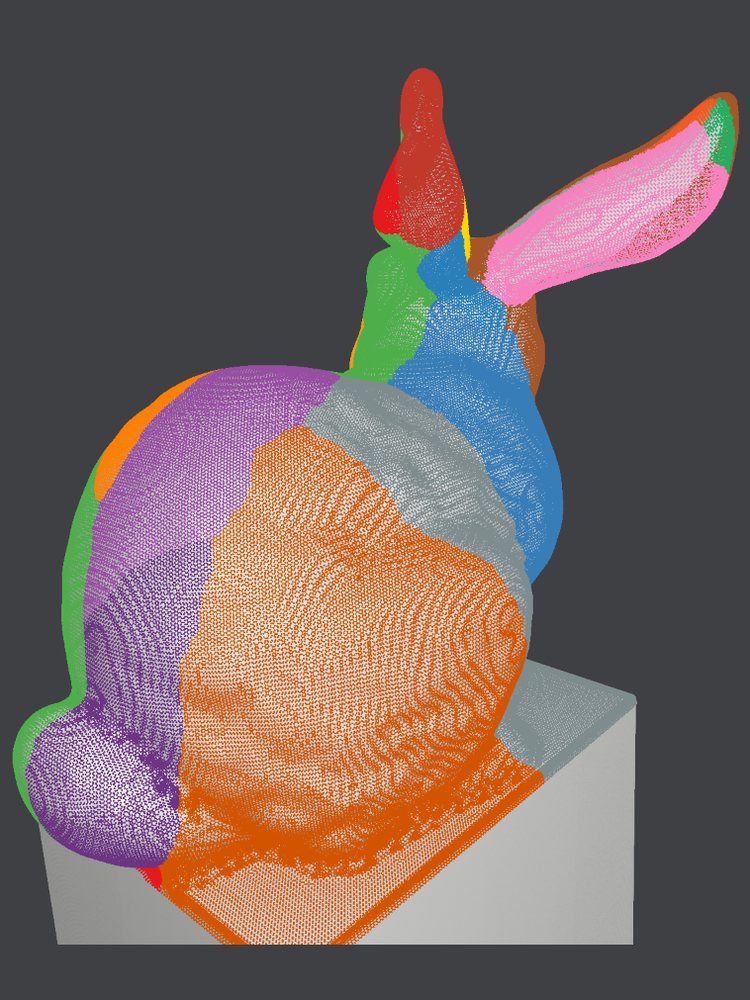
Generating the toolpath: 3D iso-geodesic distances
Within a segment, we generate the toolpath from geodesic distances. Euclidean distance is a straight line, which on a curved part would pass through the stone. Geodesic distance is measured along the surface. The result is a set of curvature-informed isolines on the bunny’s surface, evenly spaced in a way that is optimal for toolpathing. We pair this geometry with machine learning to plan toolpaths that adapt to each sculpture.
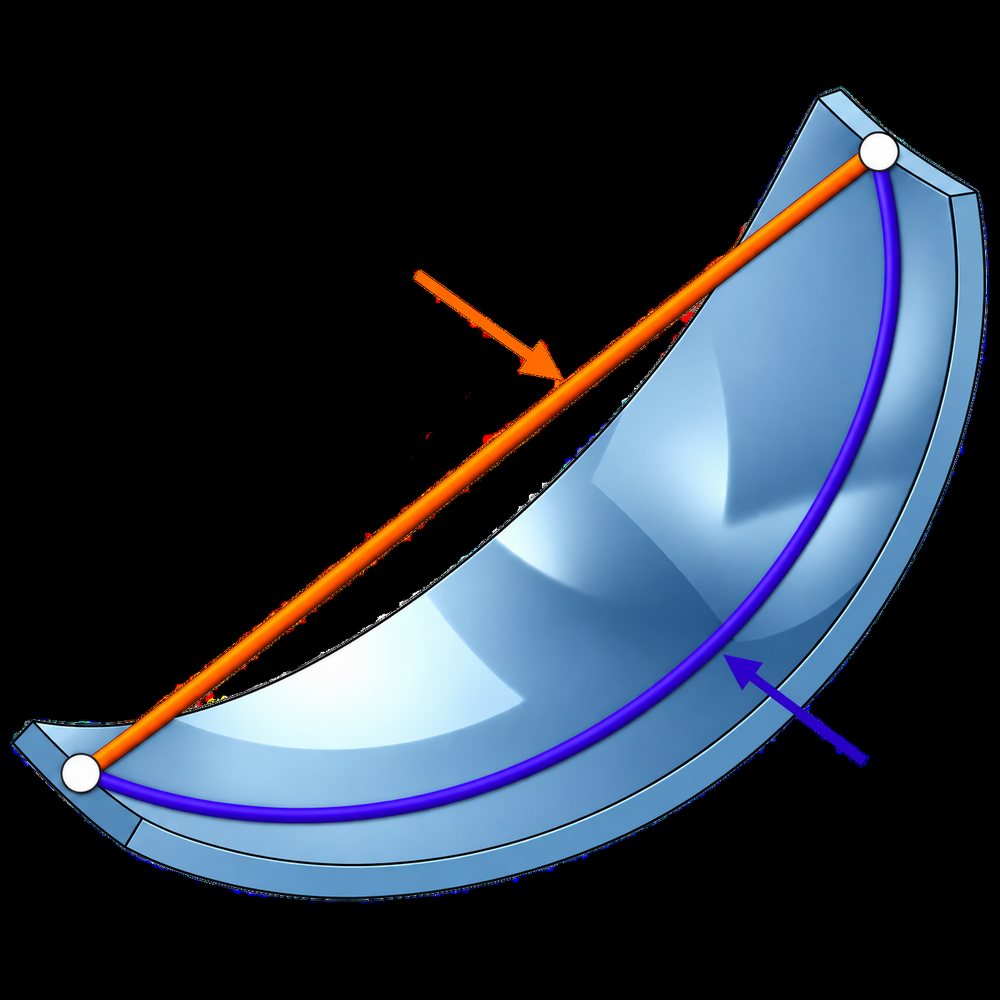
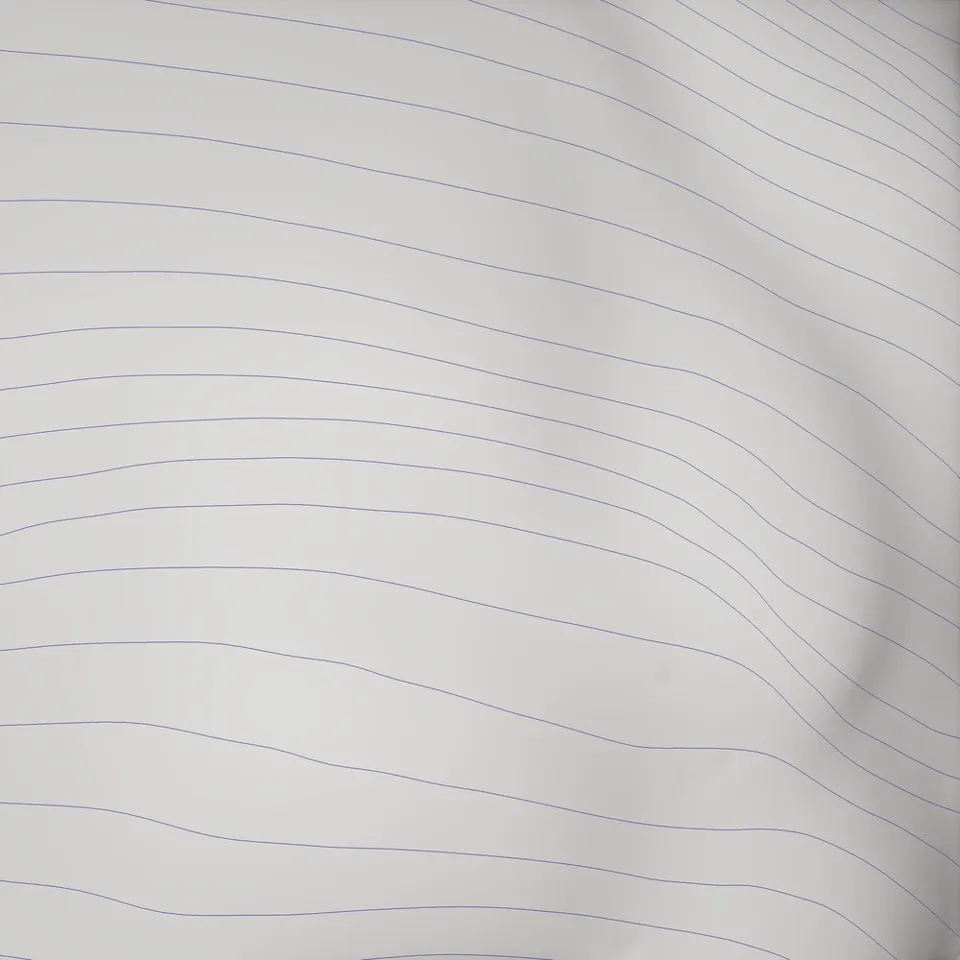
Euclidean distance cuts through the stone; geodesic distance follows the surface (left). Curvature-informed iso-geodesic lines on the bunny (right).
Optimal toolpath connections
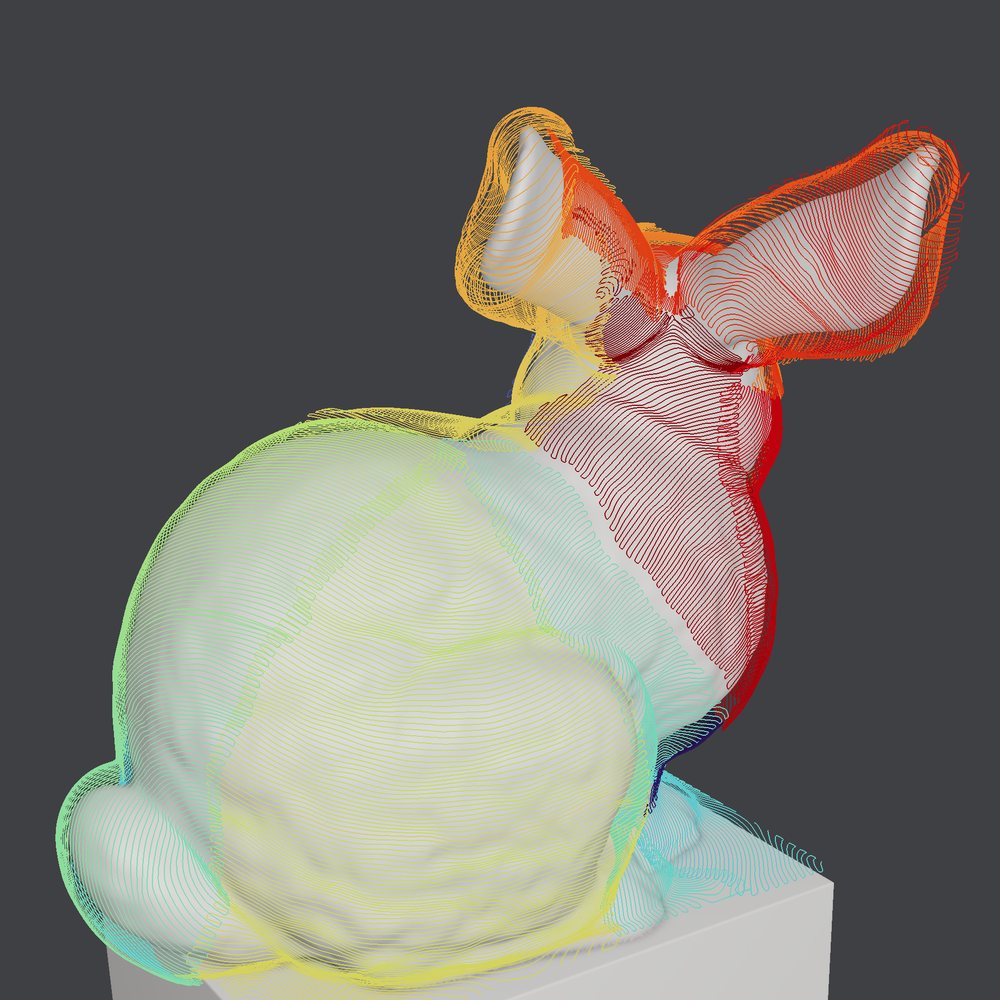
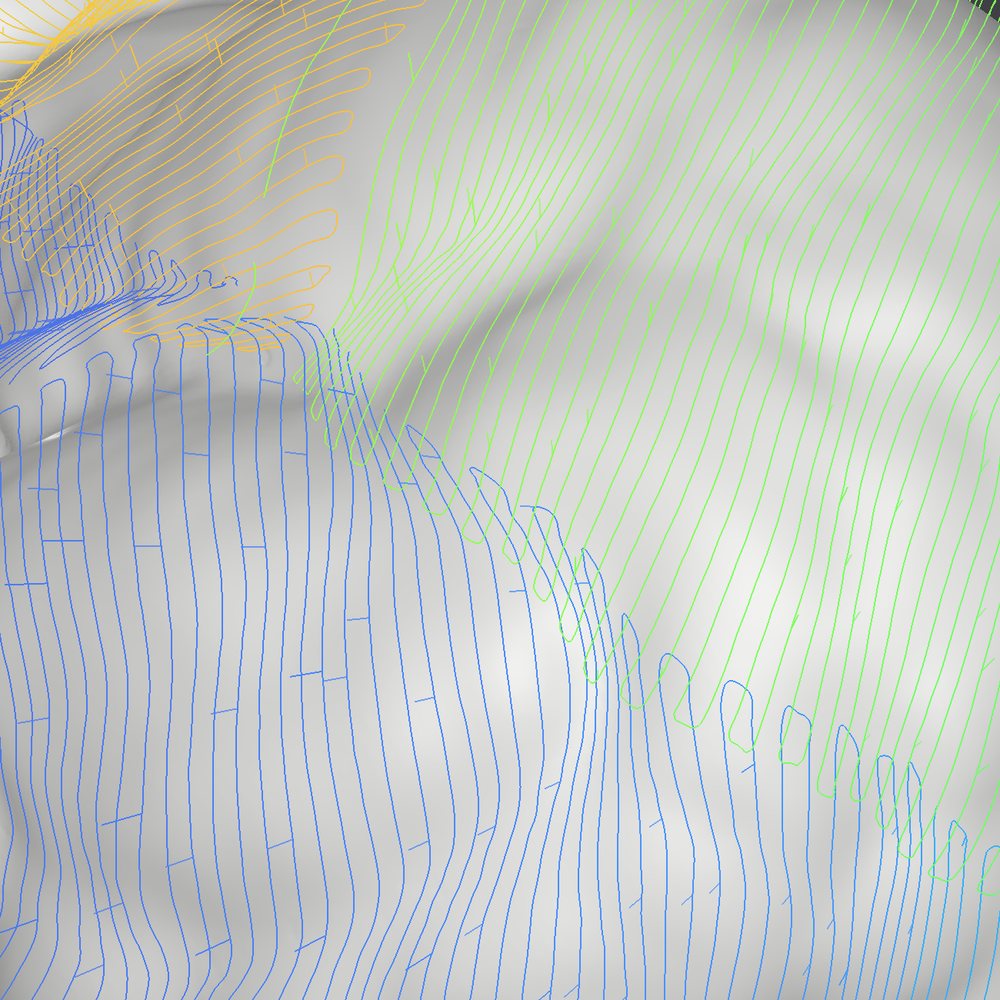
The isolines on their own are separate curves. We solve for a continuous, smooth, and optimally connected toolpath per segment, so the tool stays in the material and moves predictably instead of lifting and repositioning between passes. Machine learning helps inform how these connections are made.
Tool orientations and kinematics
Every segment also needs a tool orientation the robot can actually reach. We solve for collision-free tool orientations by segment, using access directions and tool tilt along the toolpath.
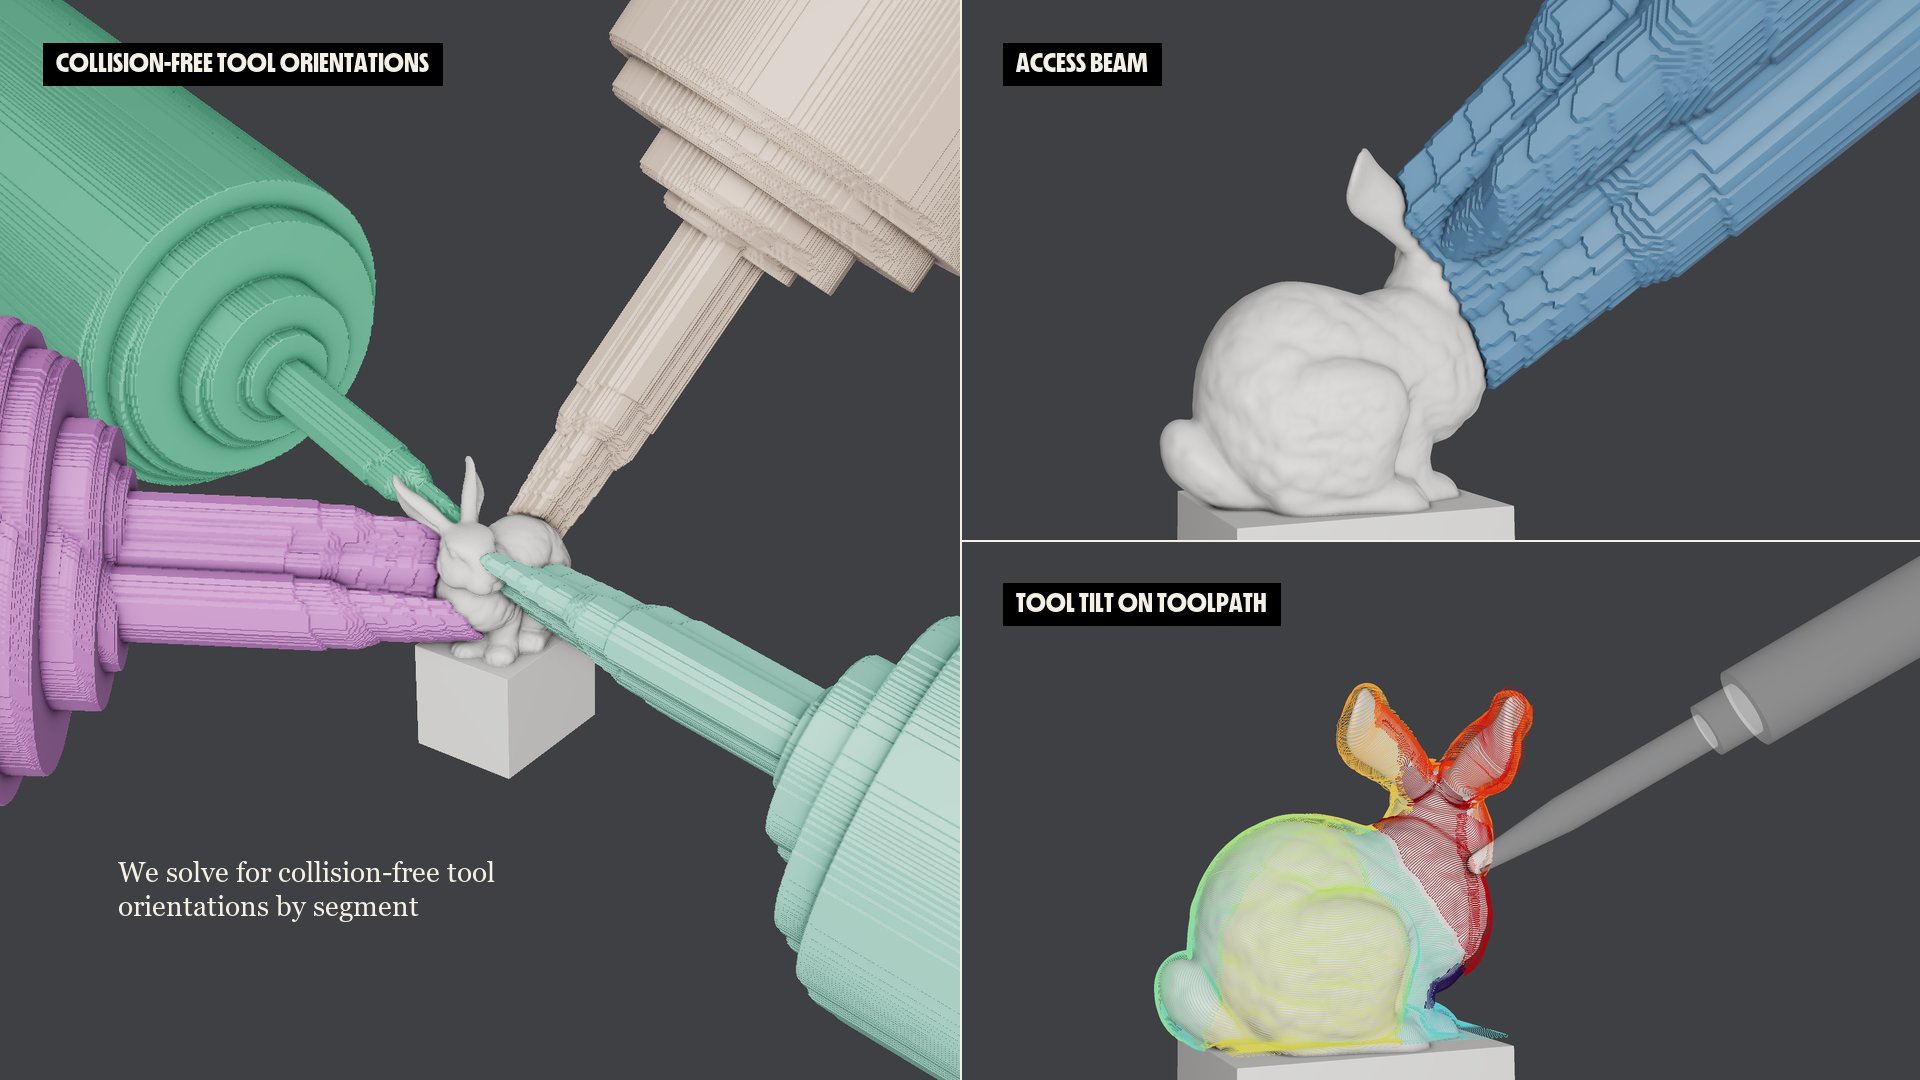
From there, we solve for safe, smooth, and collision-free joint angles for every point on the toolpath. In our proprietary toolpathing app below called Hilbert, we monitor joint angle health and visualize the kinematics limits of our various policies.
Kinematics in Hilbert: the robot following the finishing toolpath in simulation.
Simulation before stone
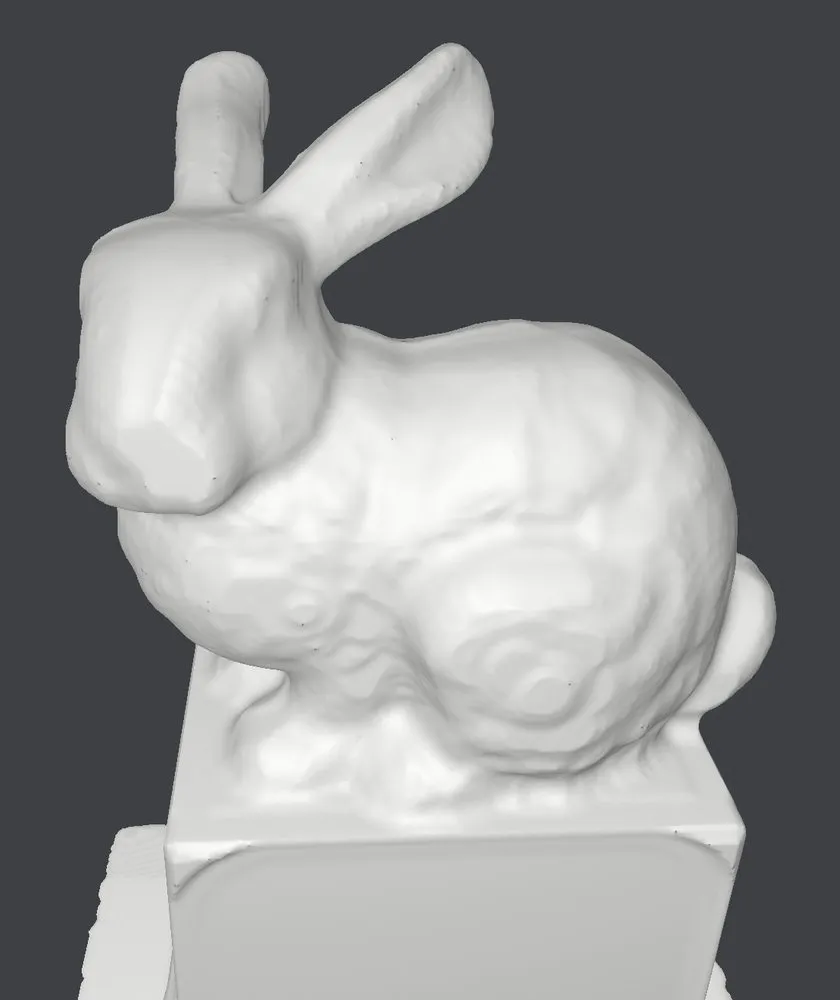
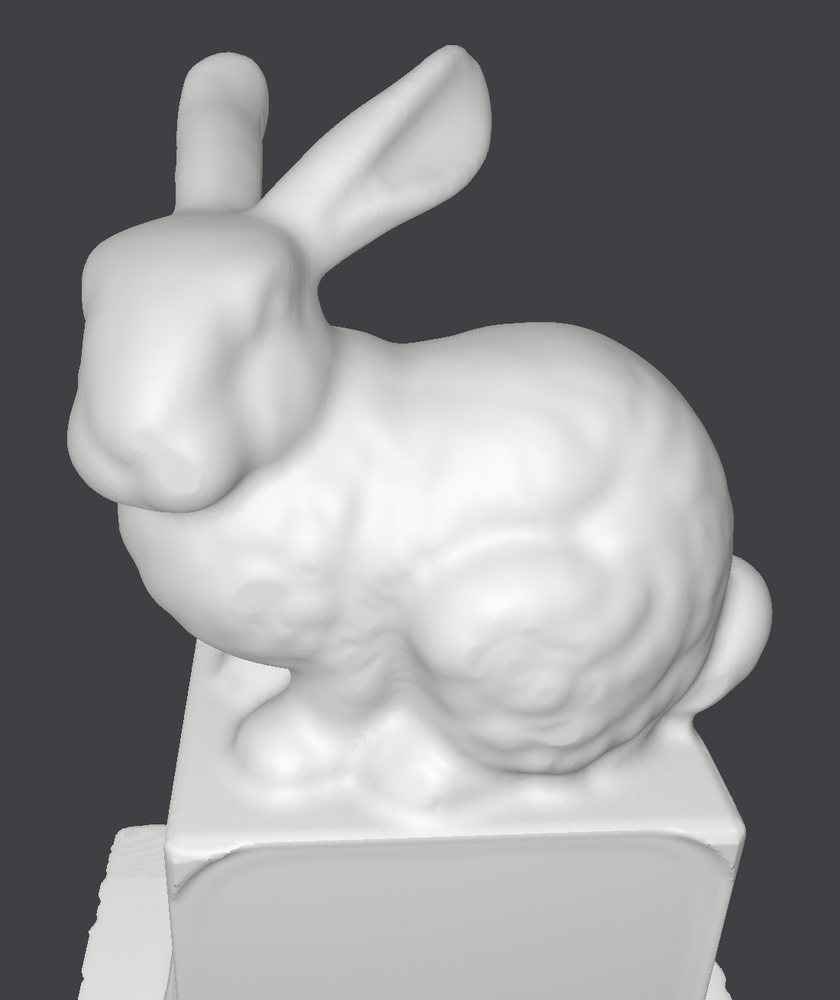
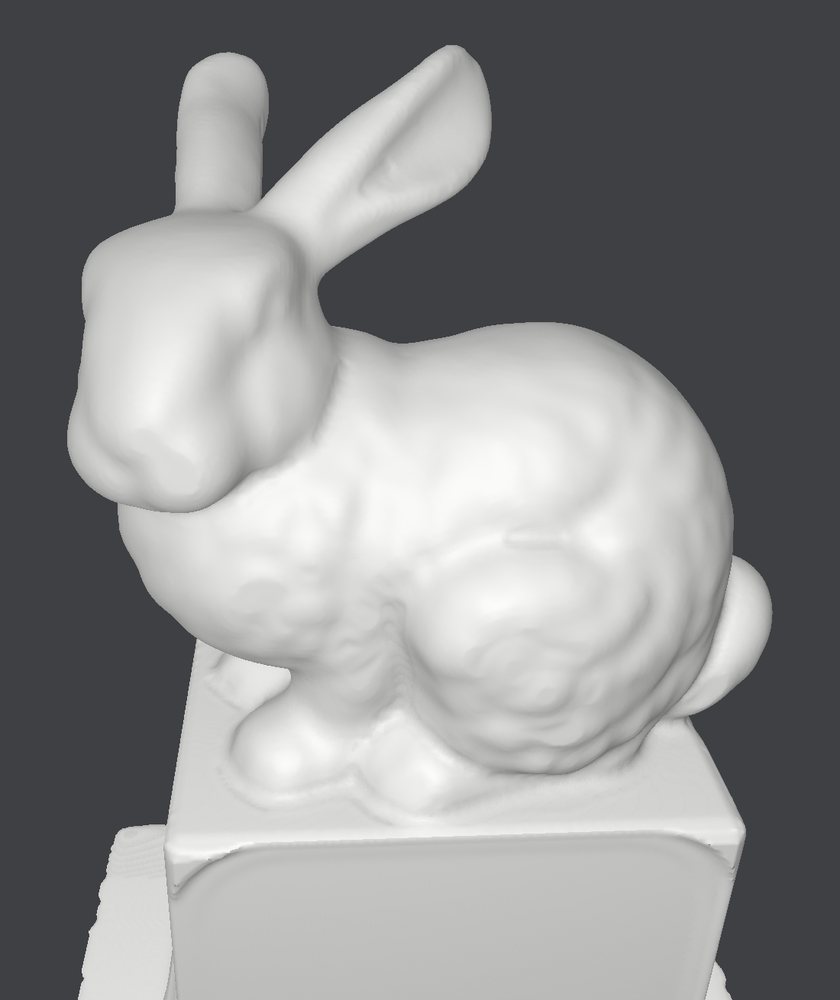
Because the whole pipeline is simulated, we can see the expected stone result before anything goes on the robot. That matters when the machine in question costs a million dollars.
Roughing output →
Toolpath 1 →
Toolpath 2 →
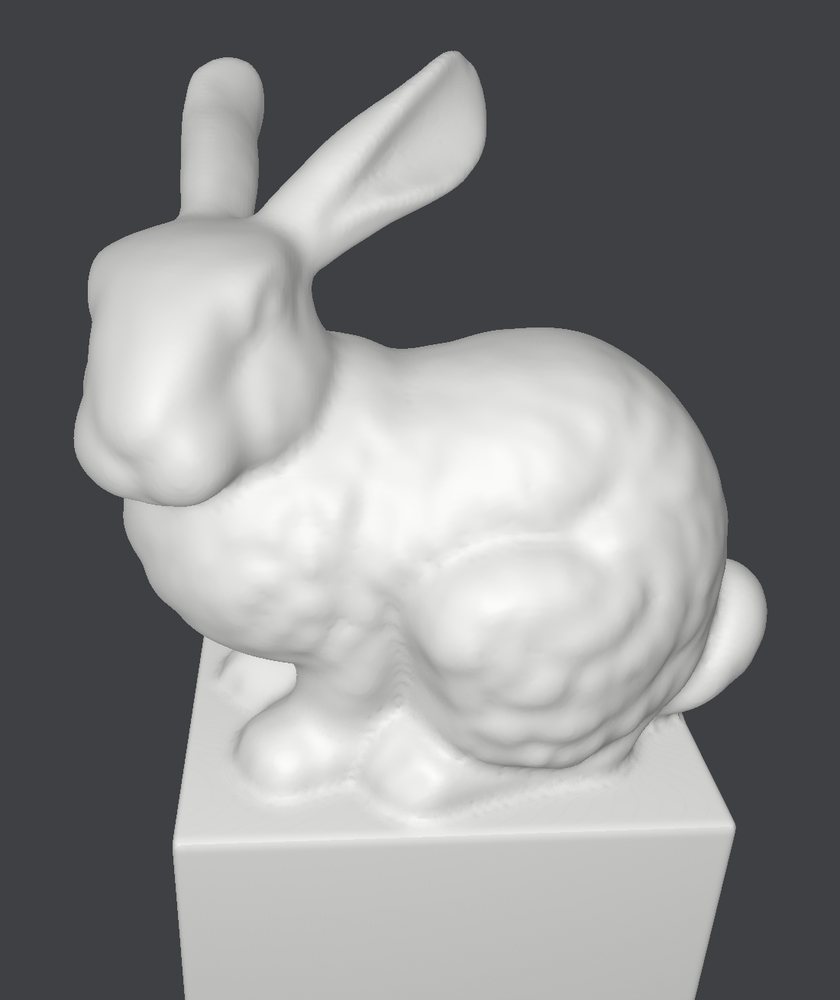
Final toolpath The simulated stone after each finishing stage, from the roughing output to the final toolpath.
Toolpath to carved
Here are the finishing toolpaths next to the carved marble they produced.
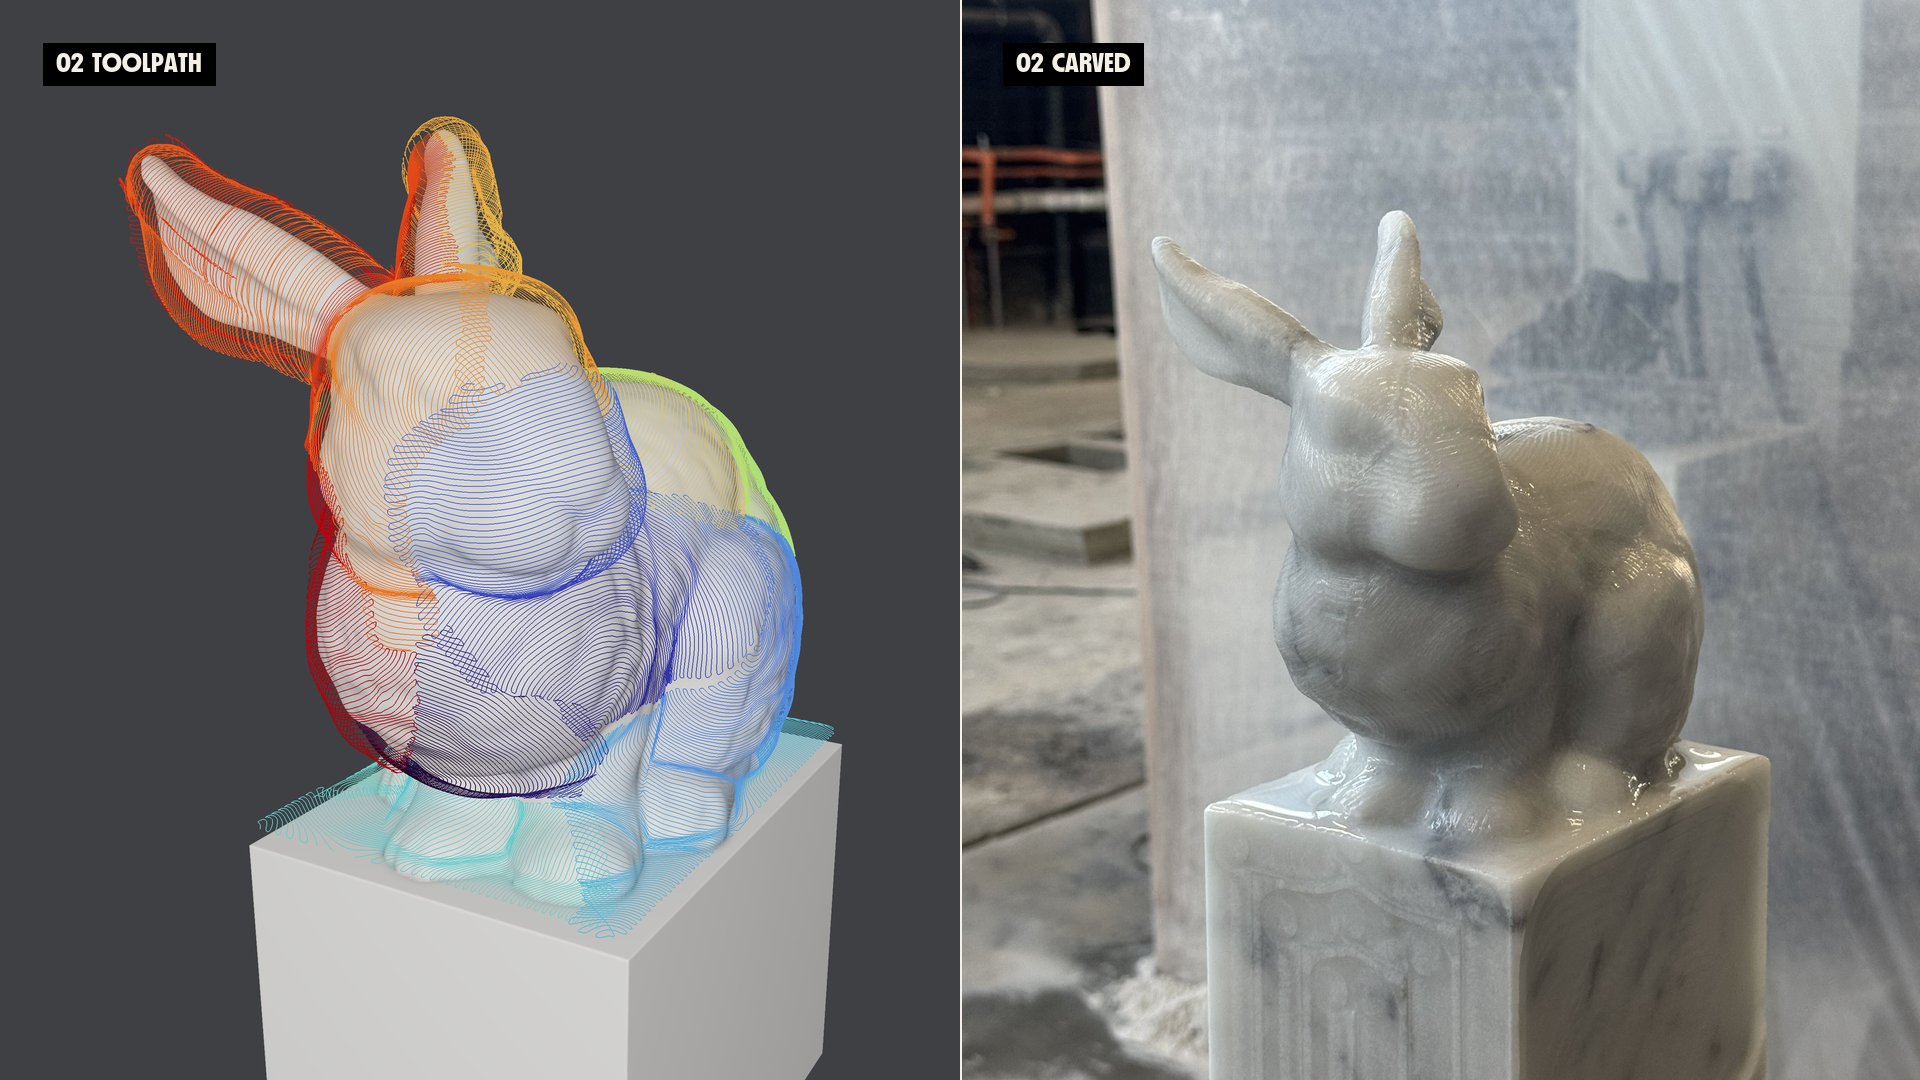
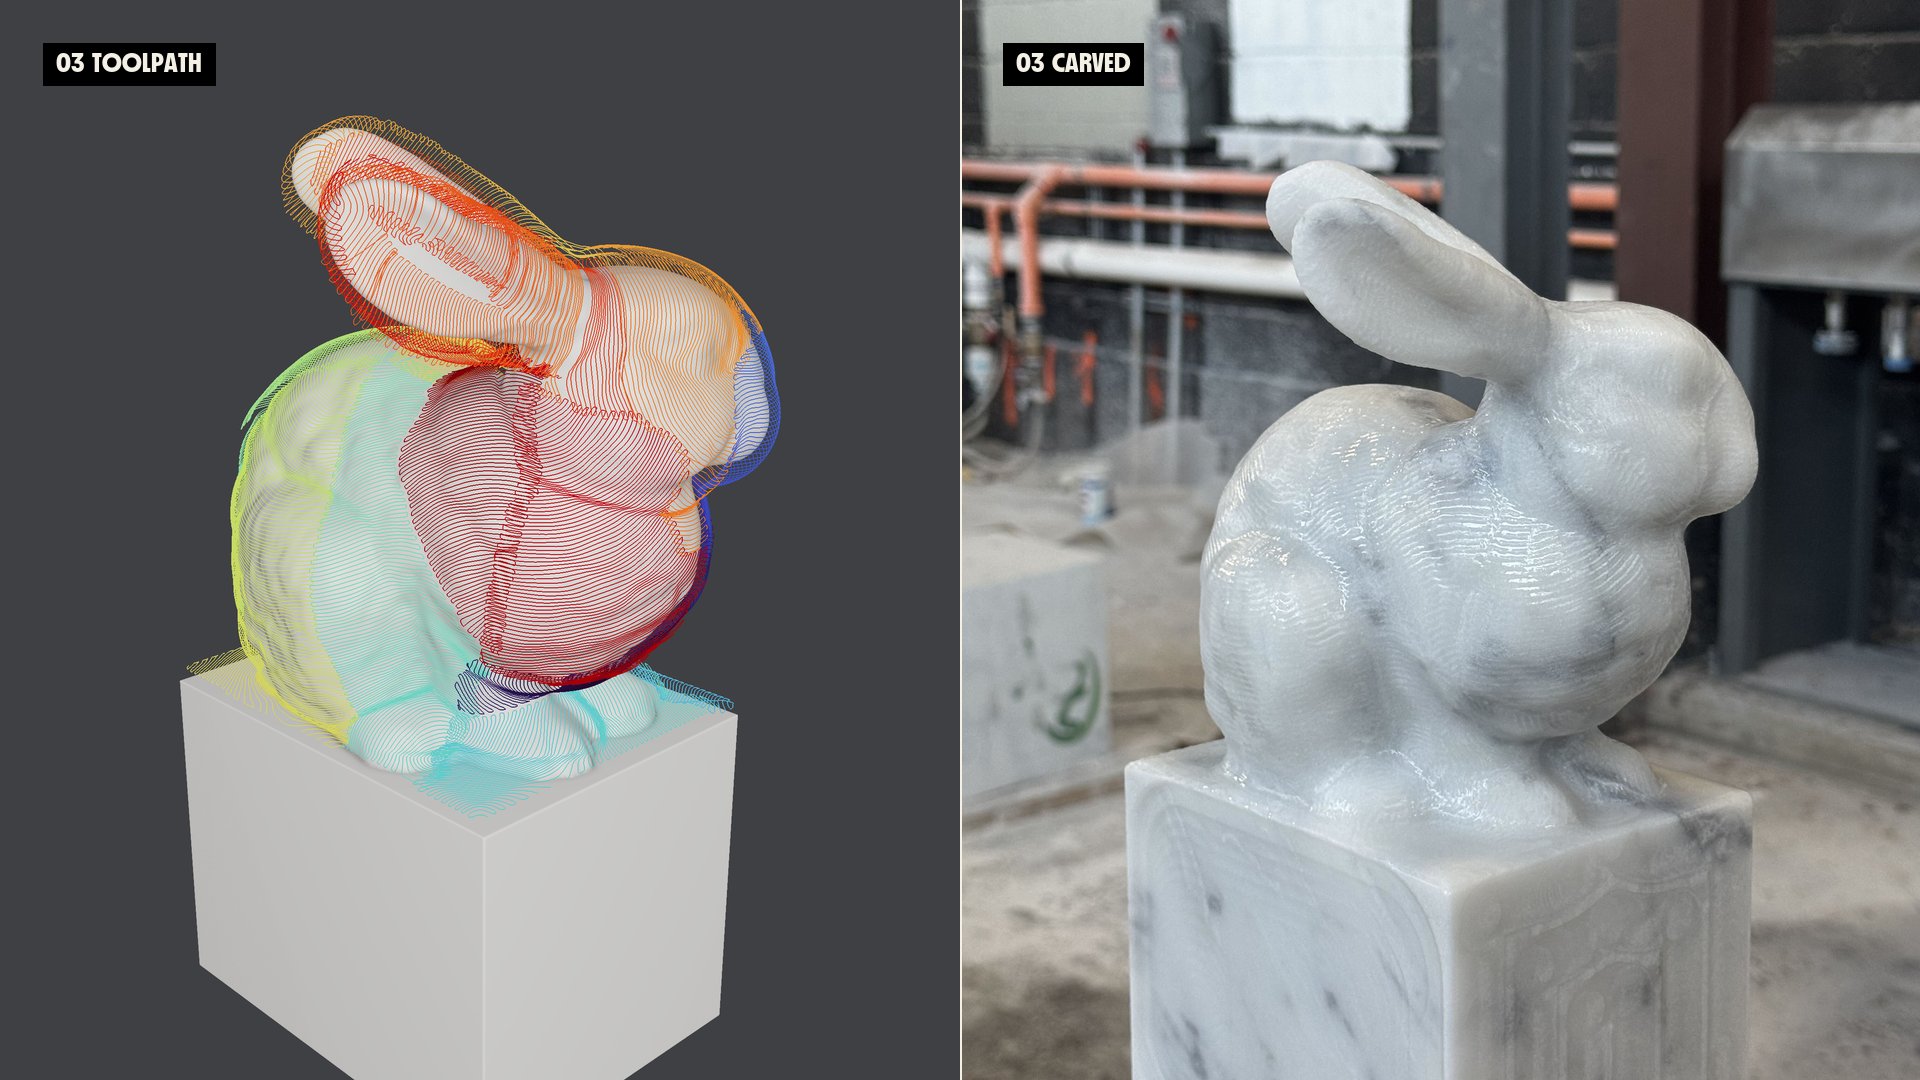
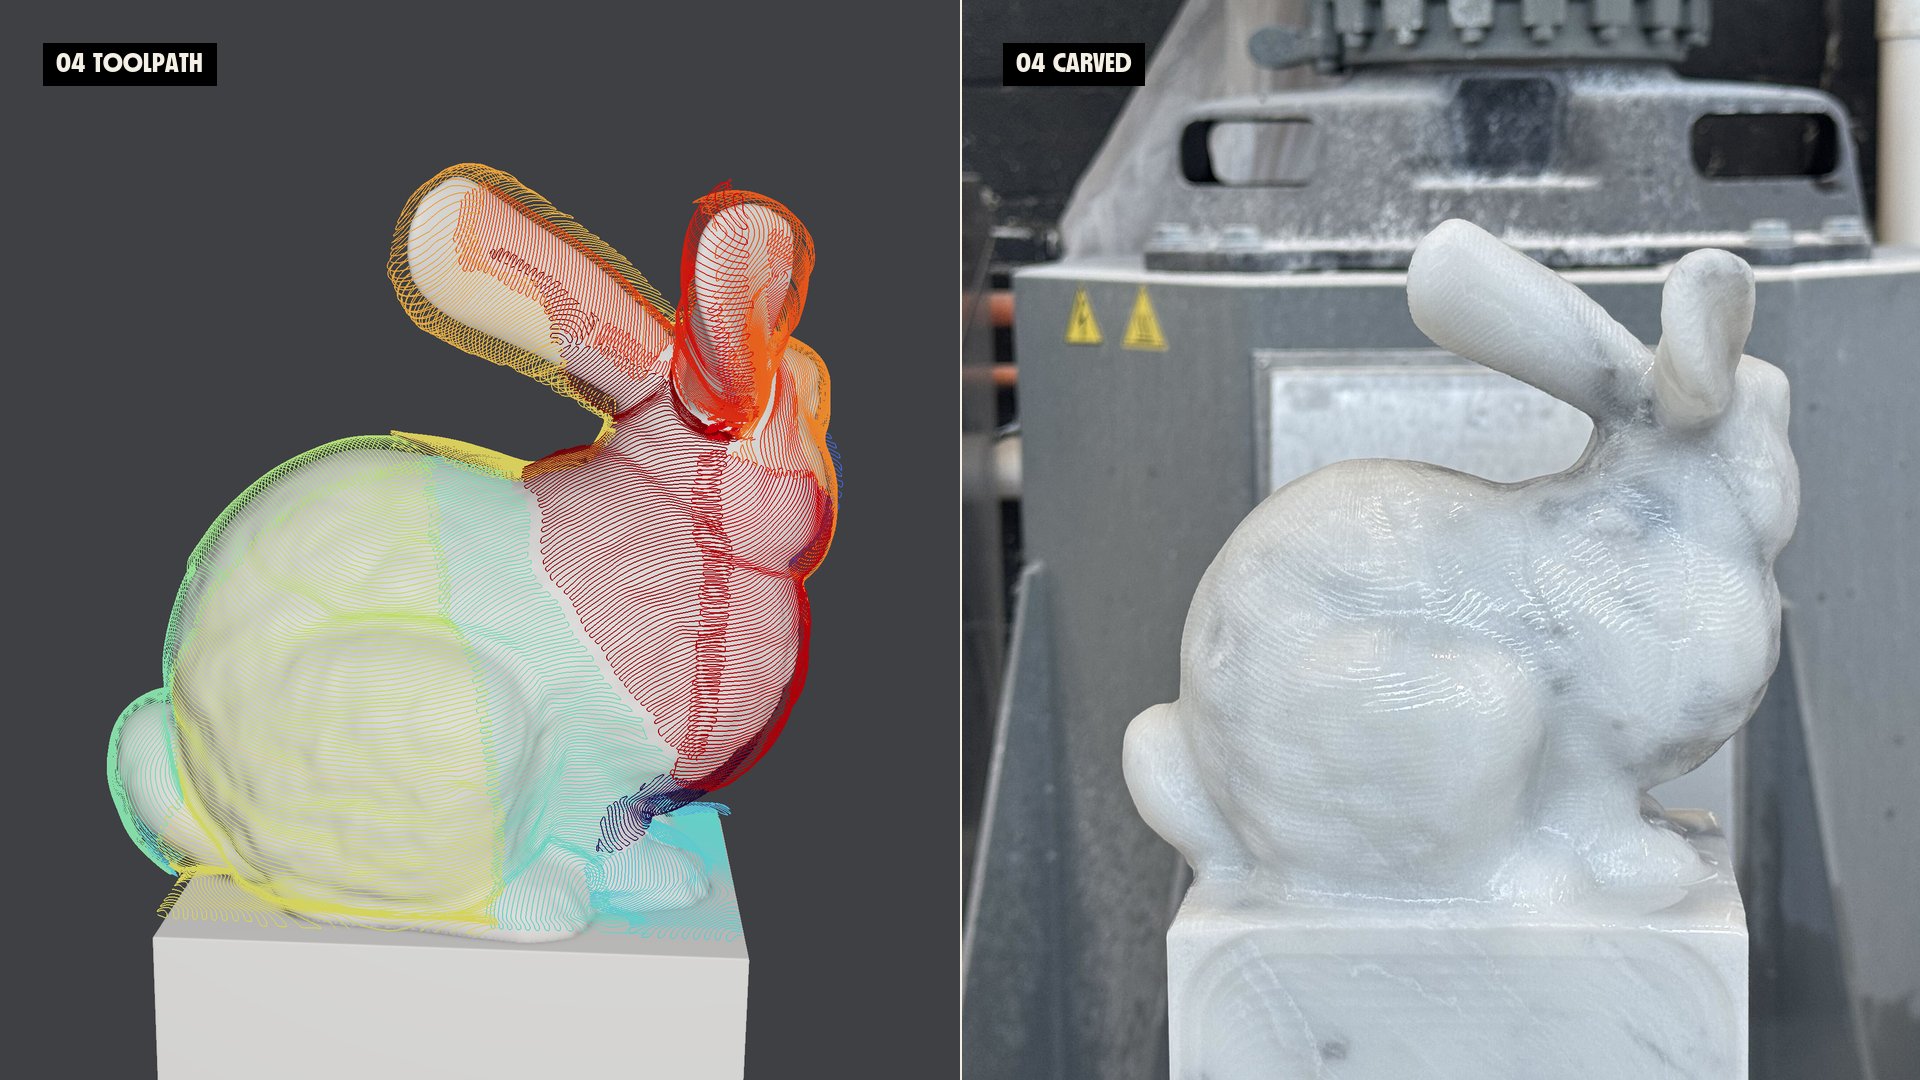
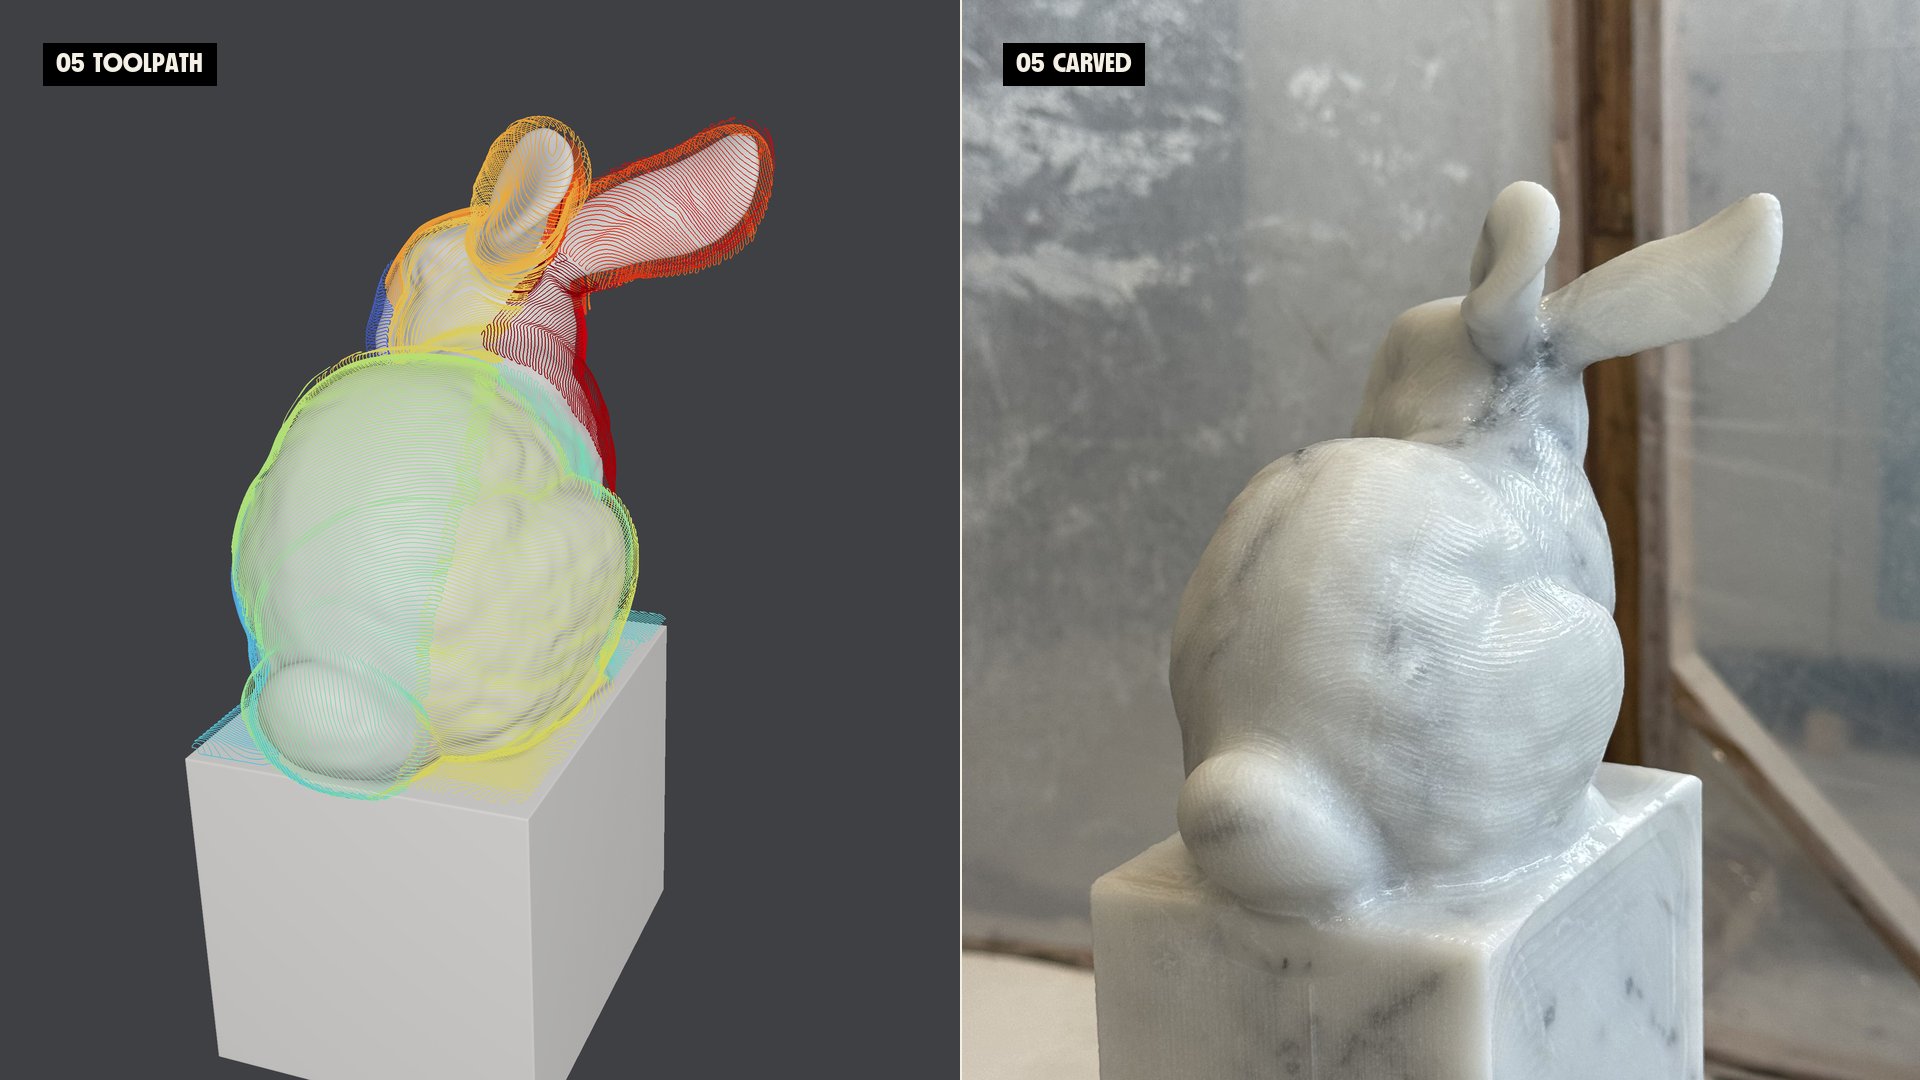
The bunny, carved.
Why we carved the Stanford bunny
Since Greg Turk and Marc Levoy scanned a ceramic rabbit at Stanford in 1994, the Stanford Bunny has been graphics’ shared test model for three decades of research in reconstruction, mesh processing, and rendering. Our work would not have been possible without the computational geometry that grew up around it: signed distance fields, volumetric shape representations, and geodesic distances on surfaces, often tested on this very bunny. After milling ours in marble, we came across two old SIGGRAPH proceedings covers: the bunny rendered as stone in 2000, and a marble bust in 2001. We like to think this work makes us a small part of both graphics and robotics history, and we can’t wait to keep advancing the field.
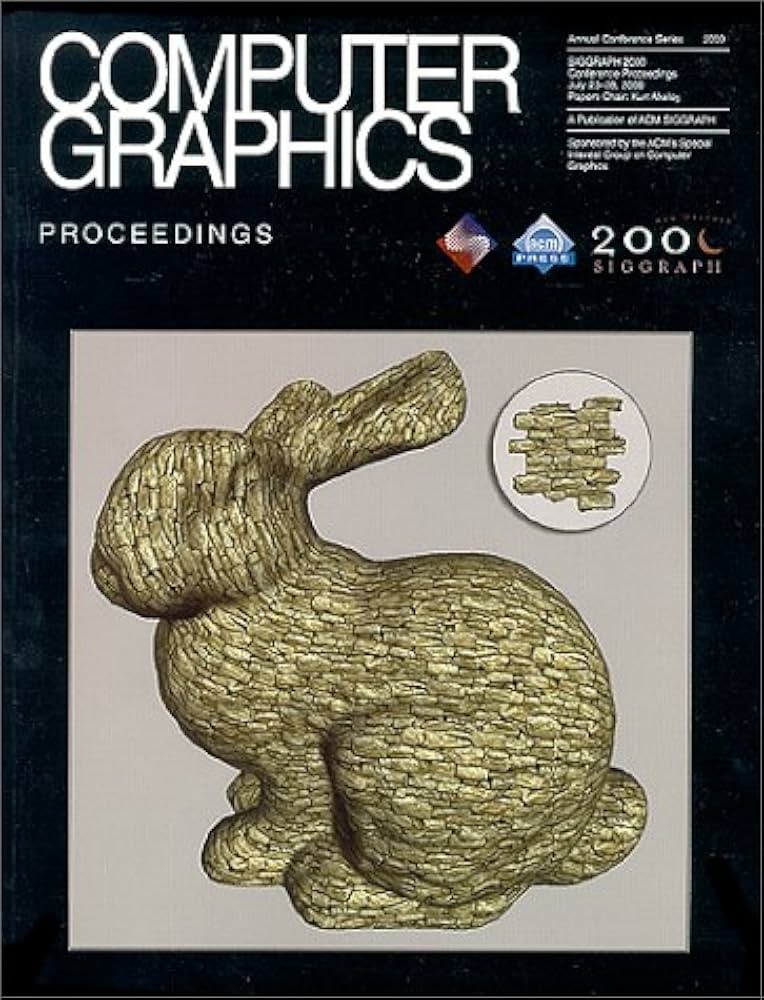
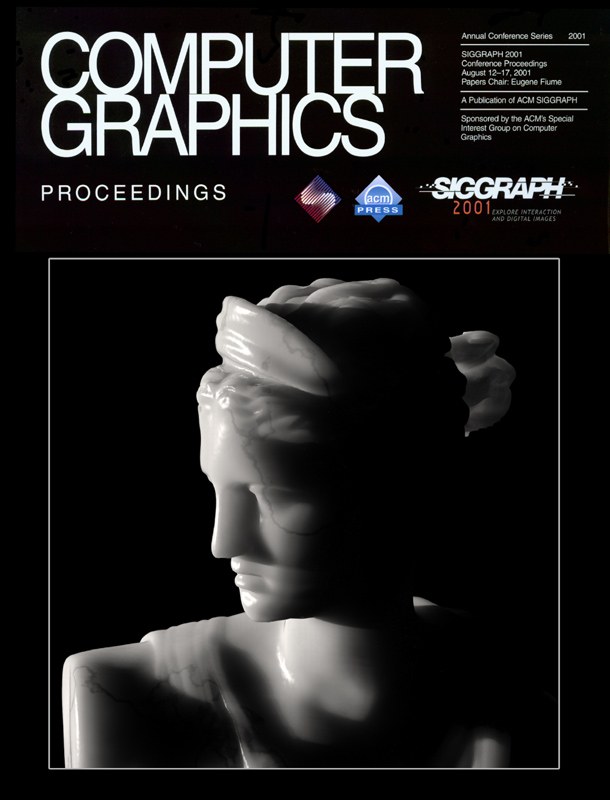
Covers of the SIGGRAPH 2000 (left) and SIGGRAPH 2001 (right) Computer Graphics Proceedings.
You can learn more about our work at monumentallabs.co.
Connect with me at eleanorwiesler.com or at my socials below! :)